• The VOIDRUNNER'S CODEX is coming! Explore new worlds, fight oppressive empires, fend off fearsome aliens, and wield deadly psionics with this comprehensive boxed set expansion for 5E and A5E!

D&D General Demetrios1453 Plays the Gold Box Games

Pool of Radiance (Part 61): Valjevo Castle (Part 4)

We pick back up, fresh from our gnoll murder...
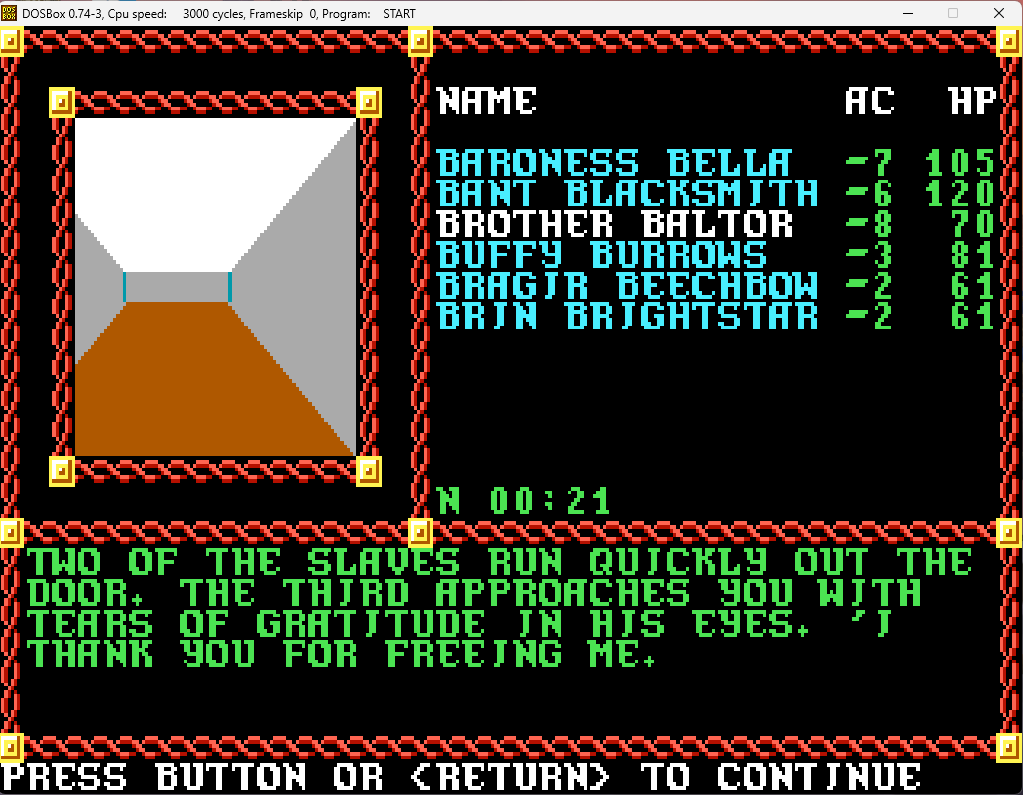
Screenshot 2024-05-11 142450.png


No problem. That gnoll looked to be a bit overbearing as a boss. Why didn't you complain to Tyranthraxus' HR team?
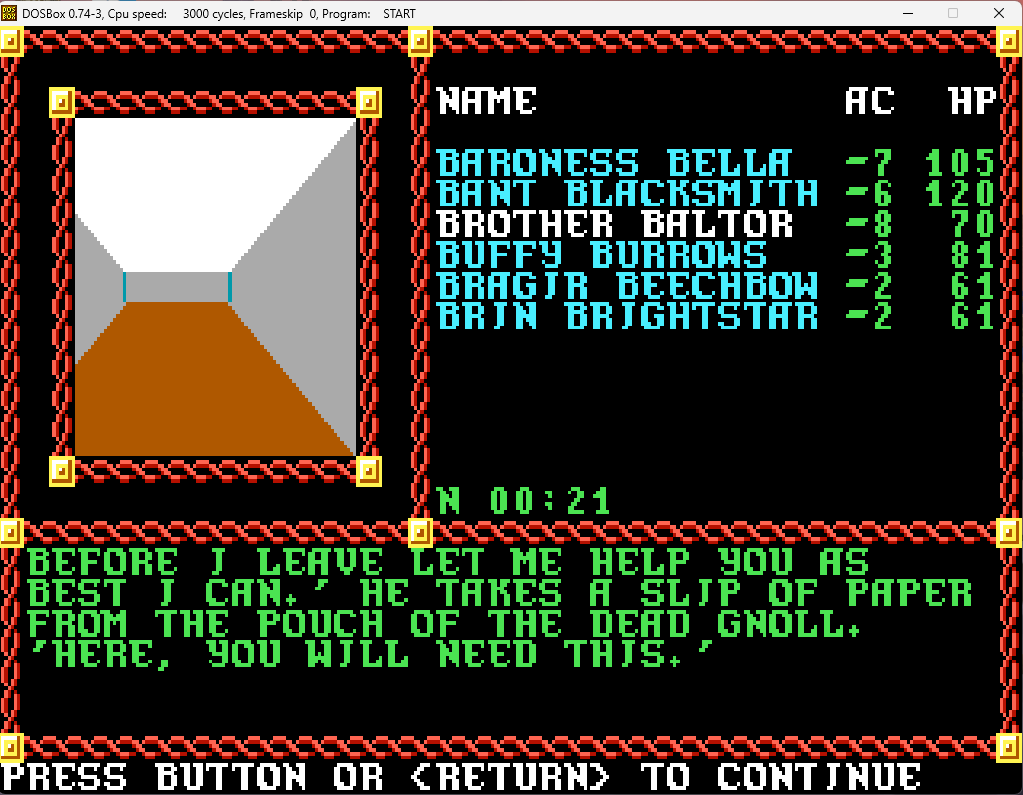
Screenshot 2024-05-11 142457.png

Screenshot 2024-05-11 142502.png


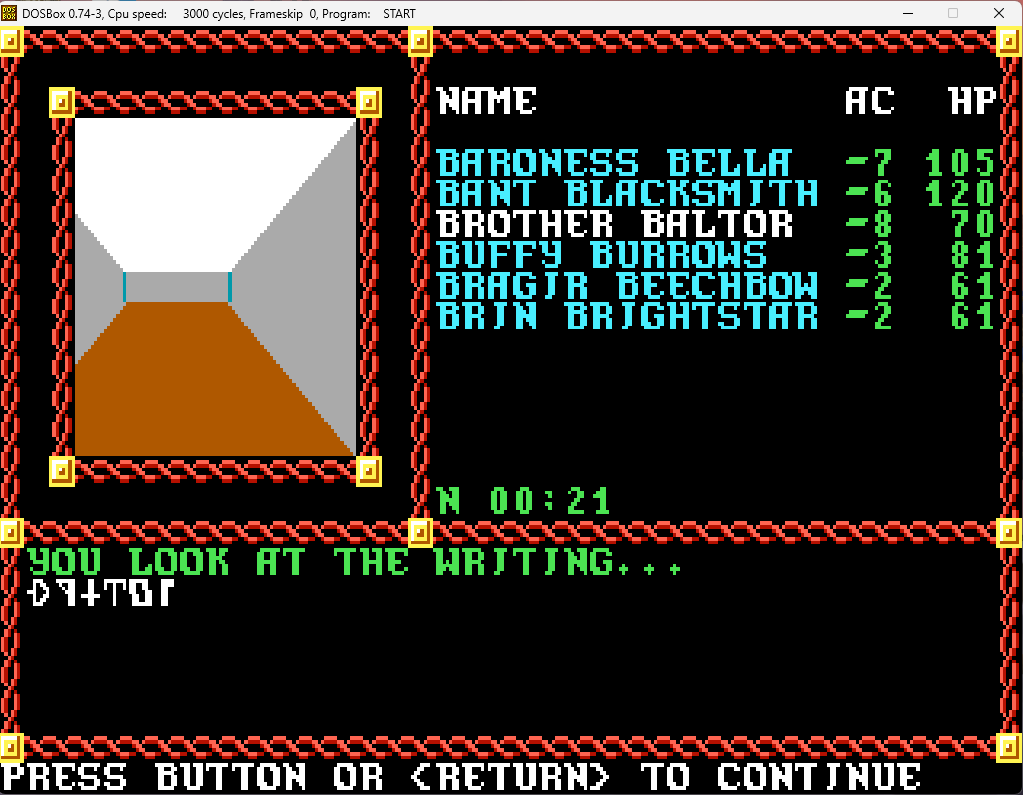
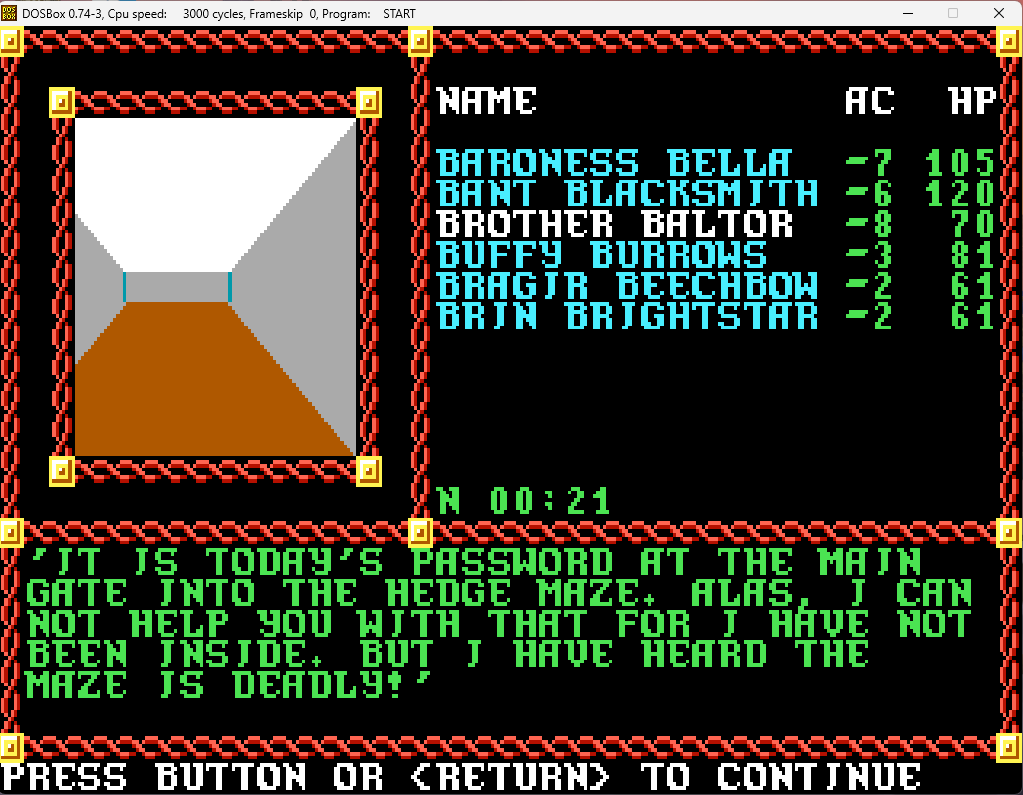
That's "RHODIA" in Dethek. Another use for the copy protection wheel!
Screenshot 2024-05-11 142510.png


Well, that will help once we turn our attention to the hedge maze here in a bit. Thanks for the help and warning!

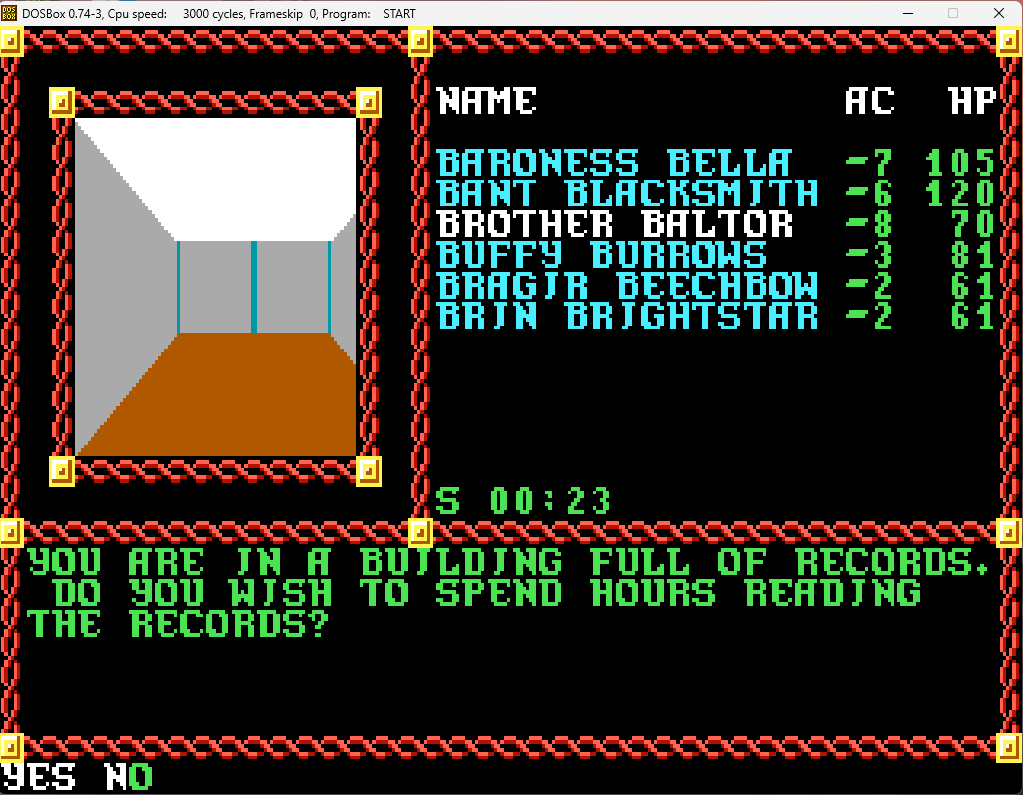
With that, he leaves. And then suddenly we remember that we were going to search the records hall across the alleyway when we were attacked. So we head back over there to search.
Screenshot 2024-05-11 142538.png


Why not?

Screenshot 2024-05-11 142544.png


Intriguing. But nothing of importance in this game at least (It will be of importance in later games, though).

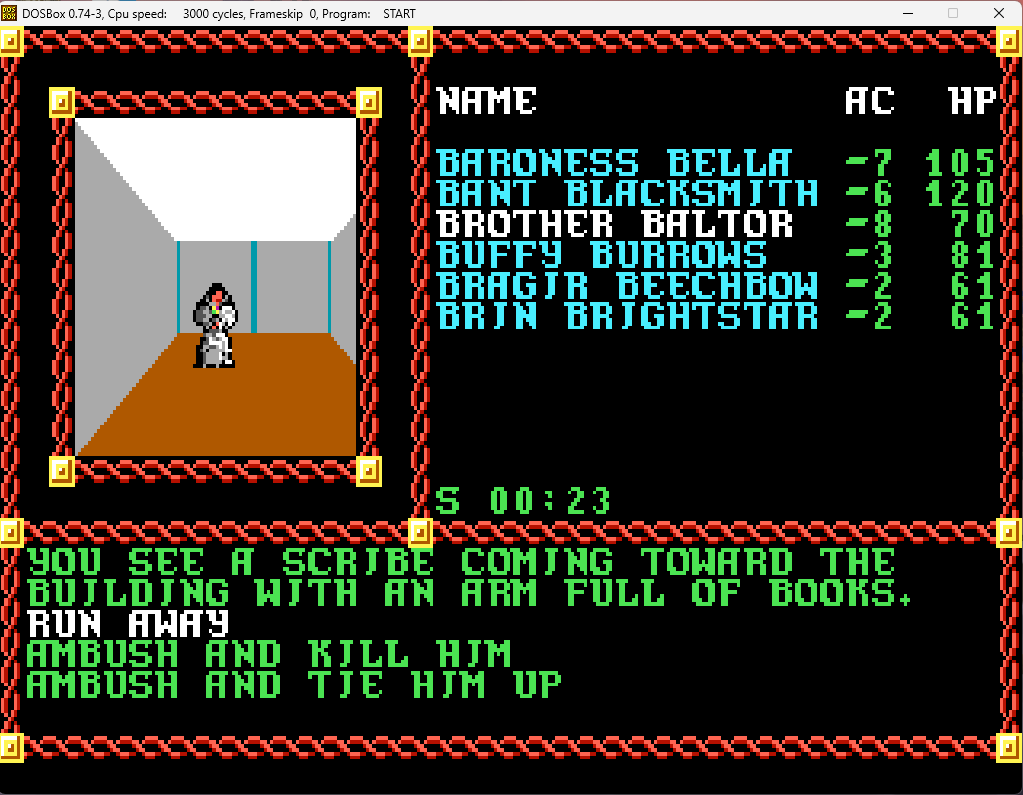
But before we can search much more...
Screenshot 2024-05-11 142554.png


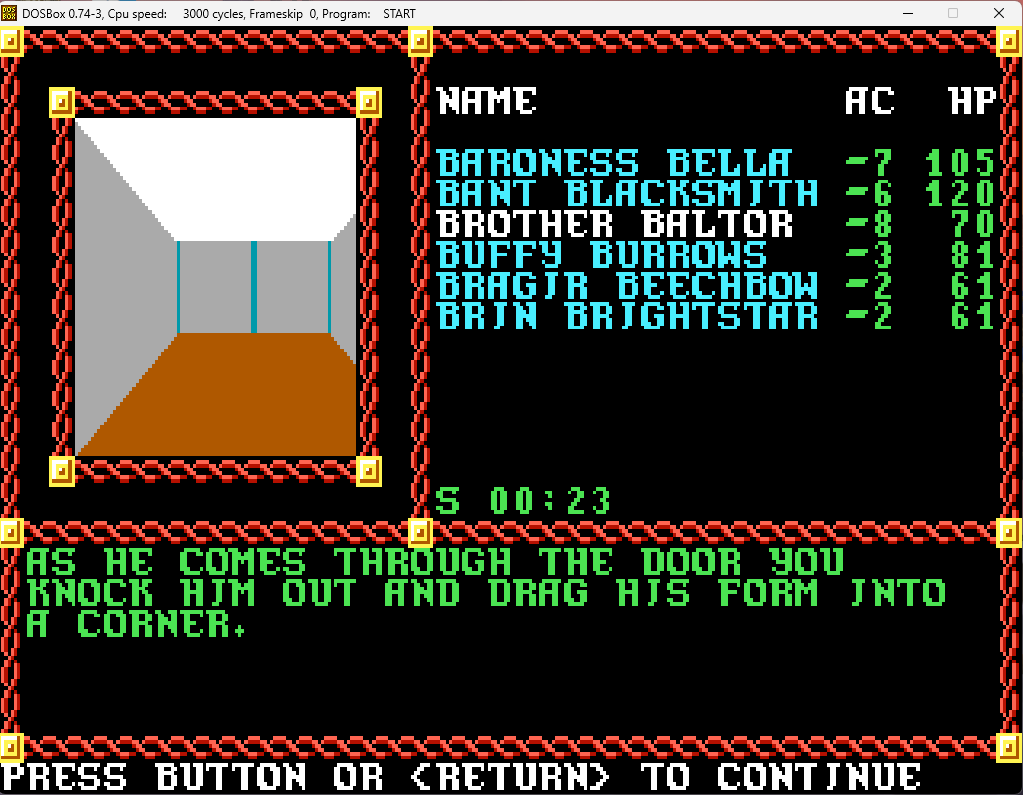
Bad timing for you, bud. However, we're not going to murder some innocent scribe just for doing his job. We'll just tie him up for someone to find after we leave.
Screenshot 2024-05-11 142622.png


With that bit of excitement out of the way, we search for further interesting information.

Screenshot 2024-05-11 142628.png


We've already spent hours already, so why not?

Screenshot 2024-05-11 142641.png


Stupid alarm.

Screenshot 2024-05-11 142649.png


Just reading some books...

Screenshot 2024-05-11 142754.png


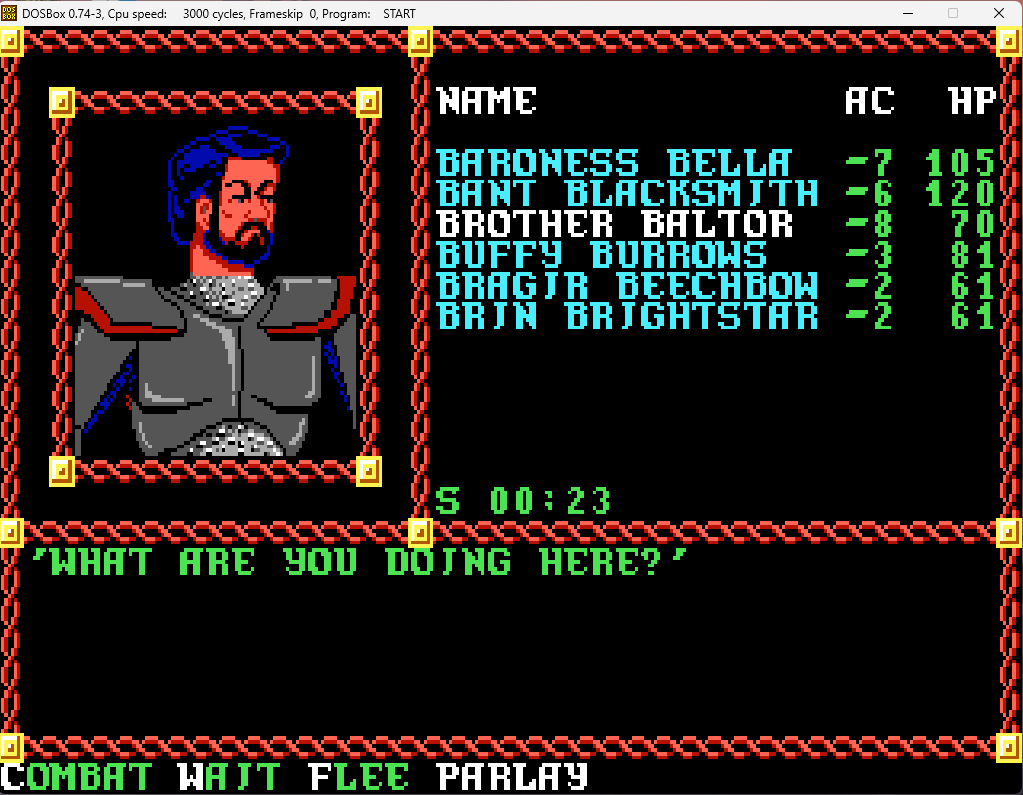
They apparently don't like that response.

But they probably won't like this response either!
Screenshot 2024-05-11 142807.png

Screenshot 2024-05-11 142822.png

Screenshot 2024-05-11 142830.png


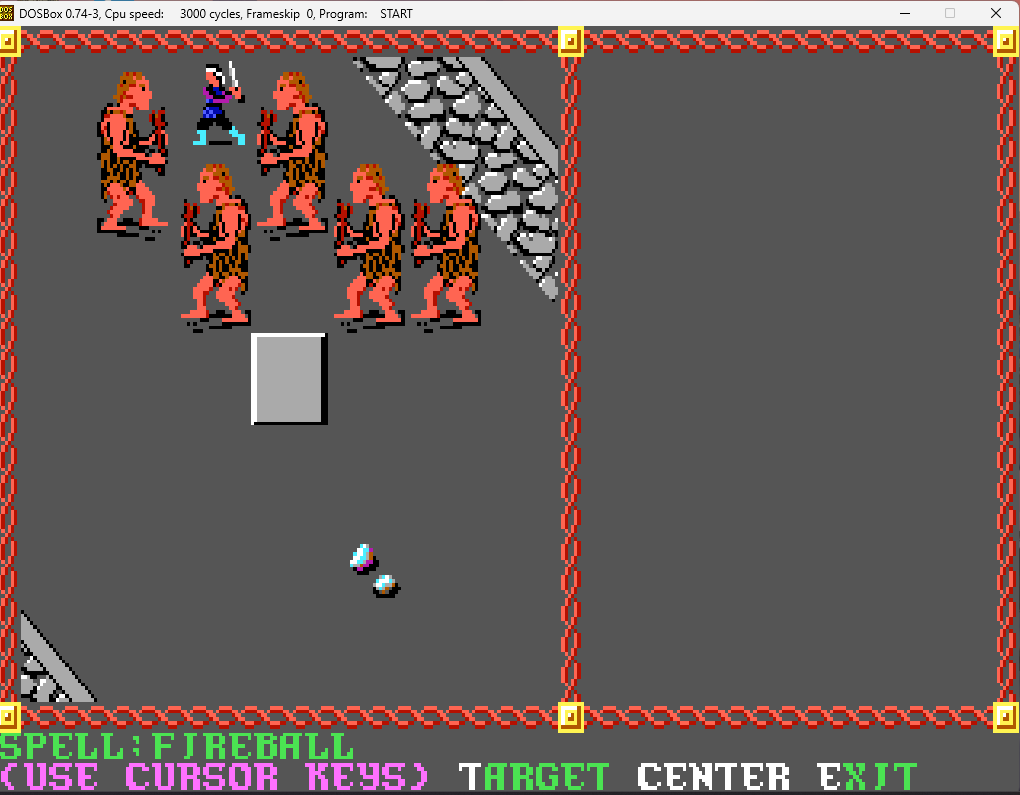
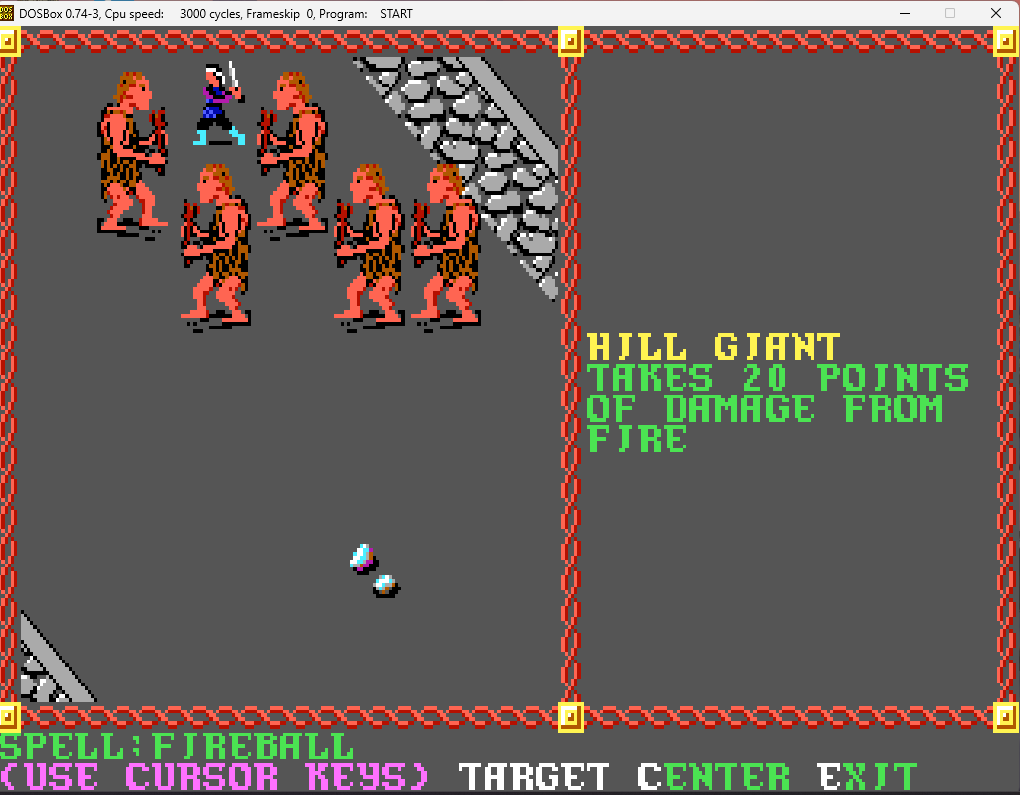
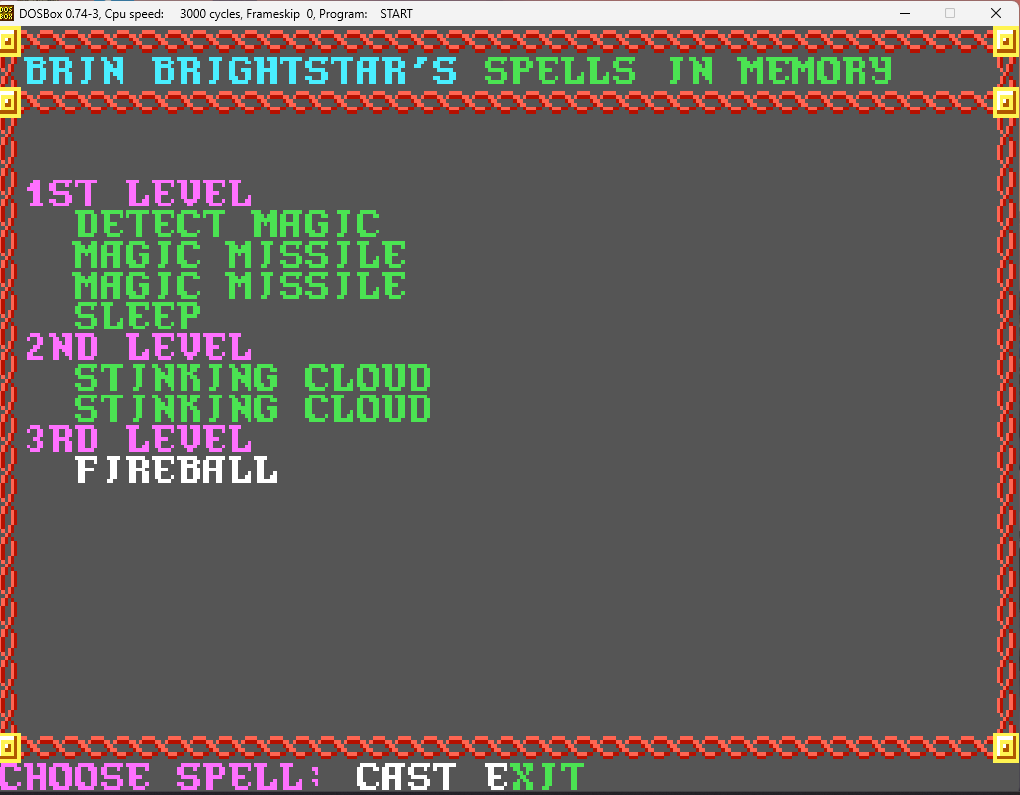
A reasonably decent fireball at last!

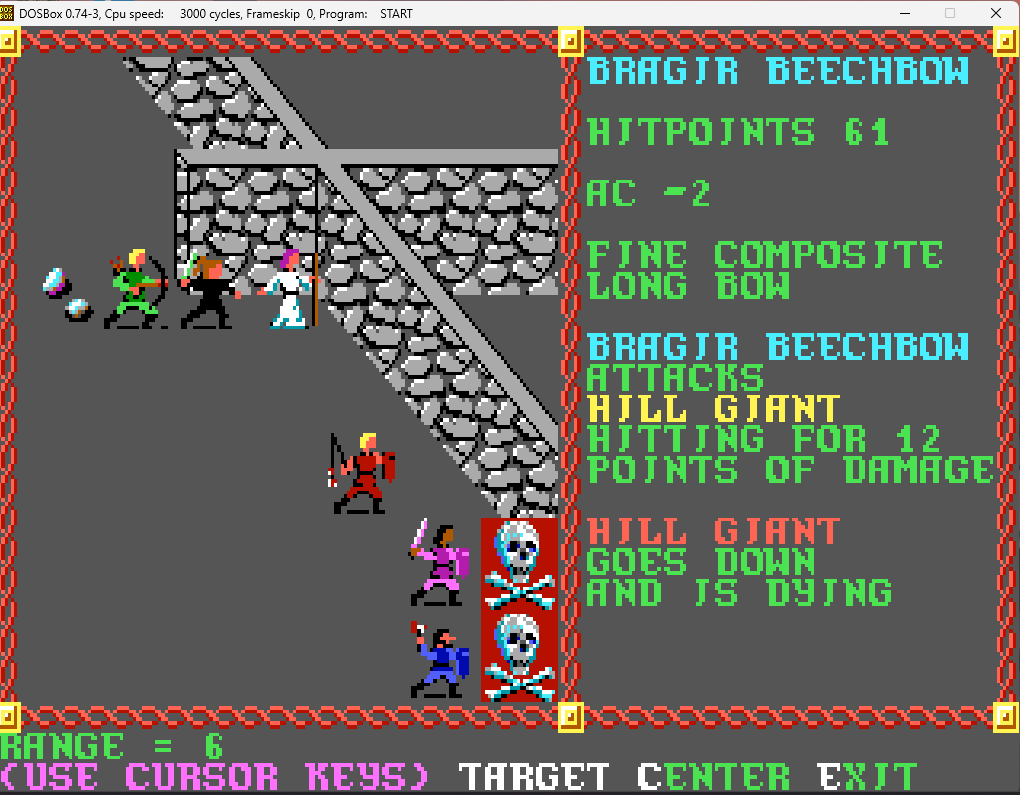
We quickly take them down afterwards.
Screenshot 2024-05-11 142947.png


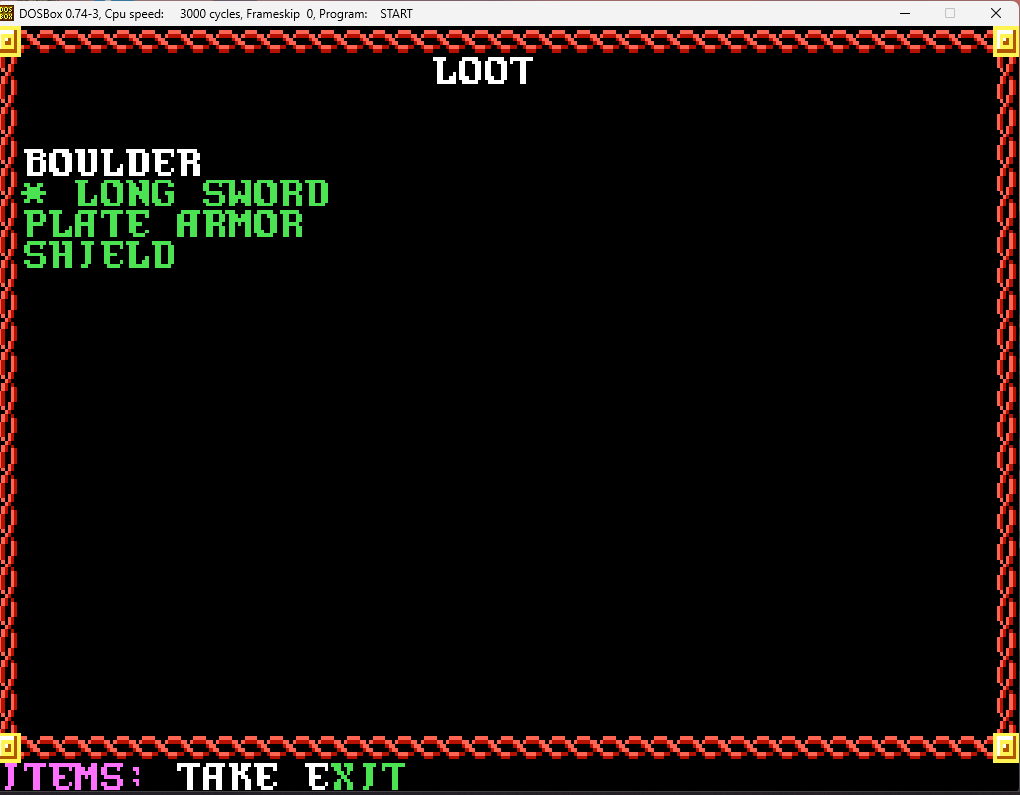
Same story as with all the other patrols. Great XP, too much money, and the human leader has a magical longsword.
Screenshot 2024-05-11 143018.png


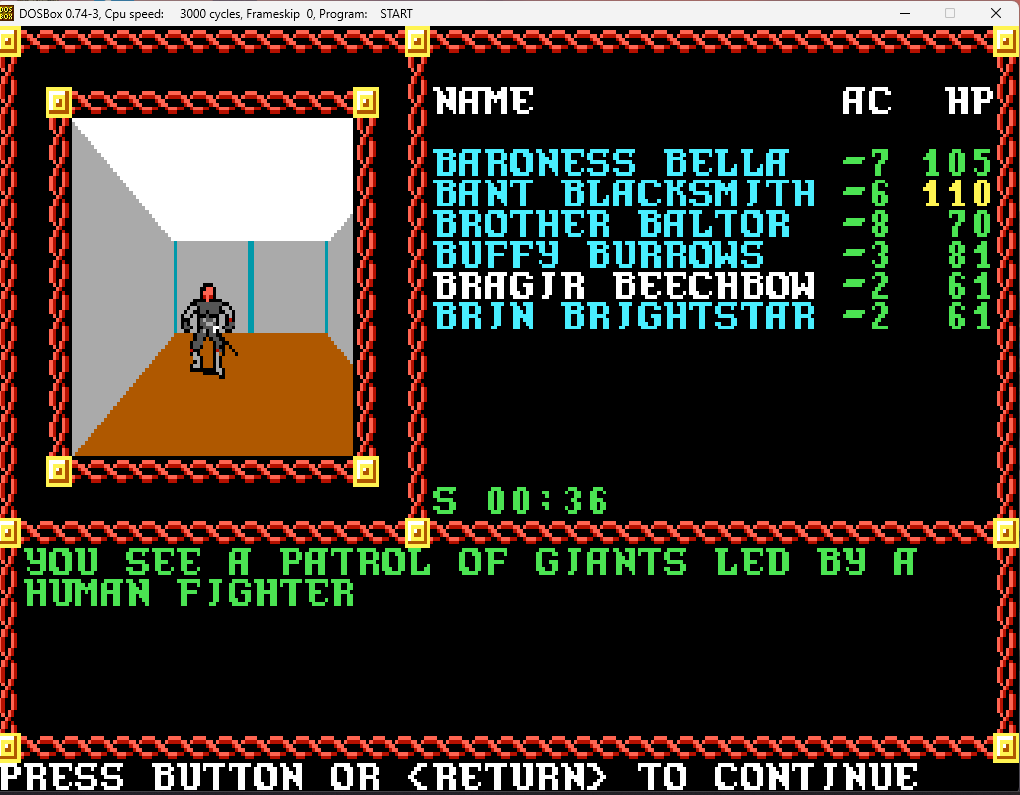
We start to search a bit more, and...
Screenshot 2024-05-11 143146.png


This is getting seriously annoying.

Screenshot 2024-05-11 143205.png


Brin is out of fireballs, so has to resort to other spells...
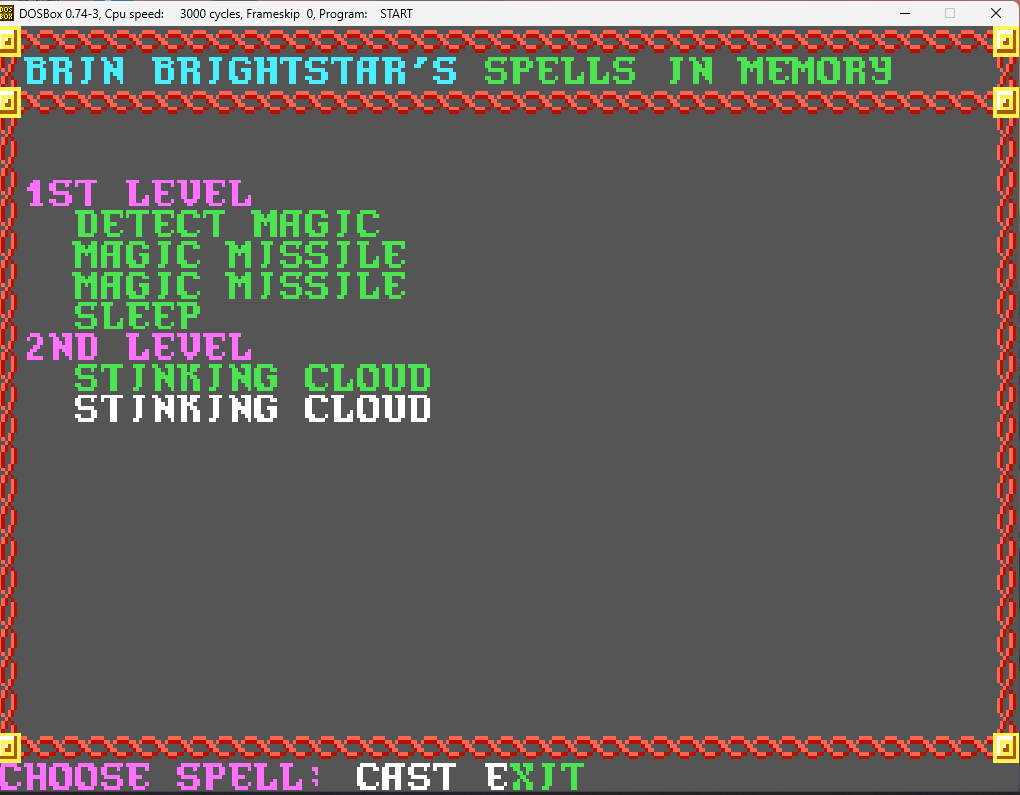
Screenshot 2024-05-11 143215.png

Screenshot 2024-05-11 143224.png

Screenshot 2024-05-11 143233.png


Well, he's dead quickly at least.

Screenshot 2024-05-11 143247.png


Again, we quickly take them out.

Screenshot 2024-05-11 143403.png


Lots of XP, too much money, magical longsword.
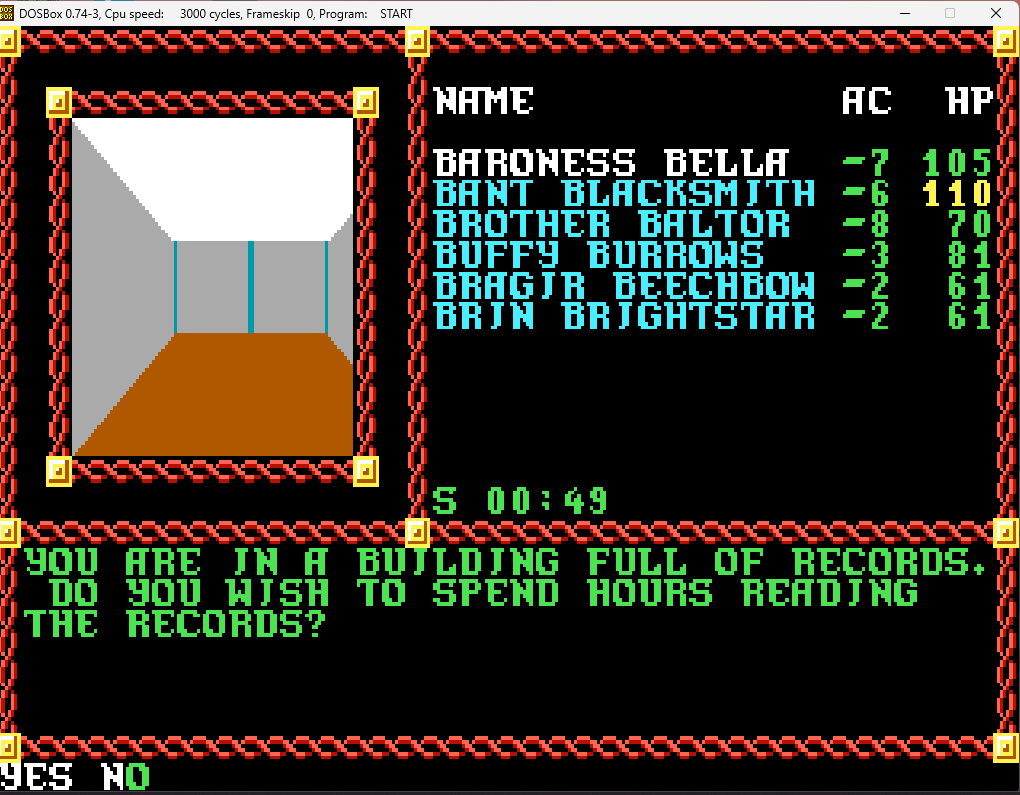
Screenshot 2024-05-11 143442.png


Hopefully with fewer interruptions this time!
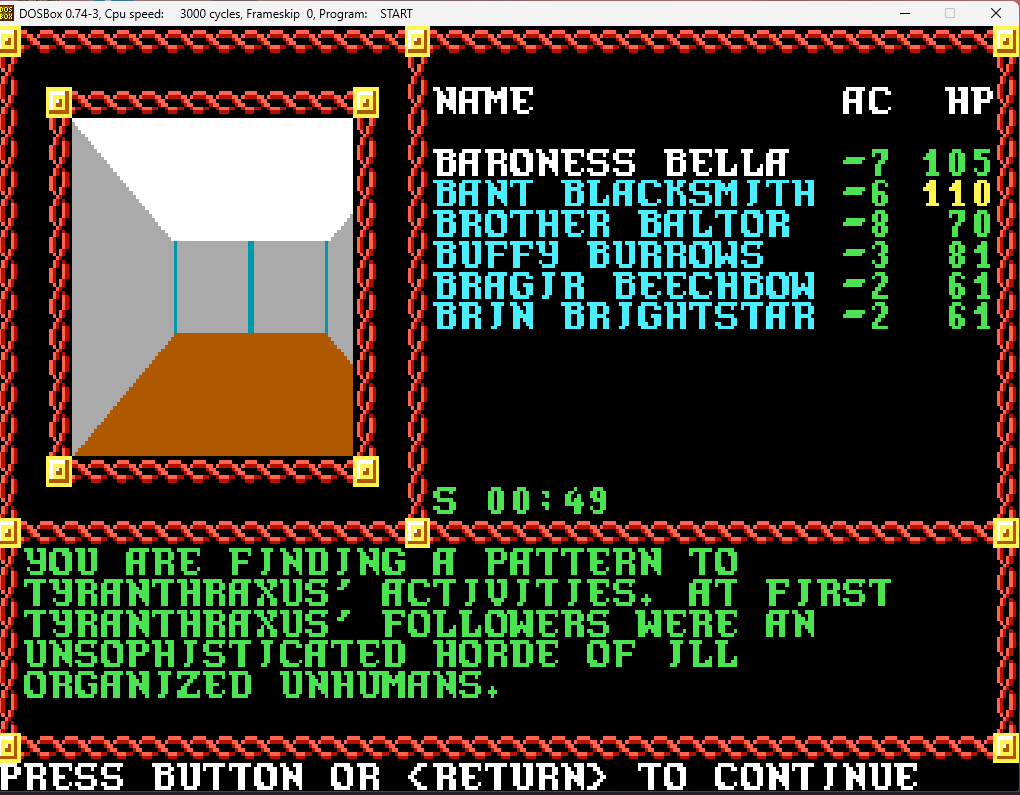
Screenshot 2024-05-11 143451.png

Screenshot 2024-05-11 143459.png


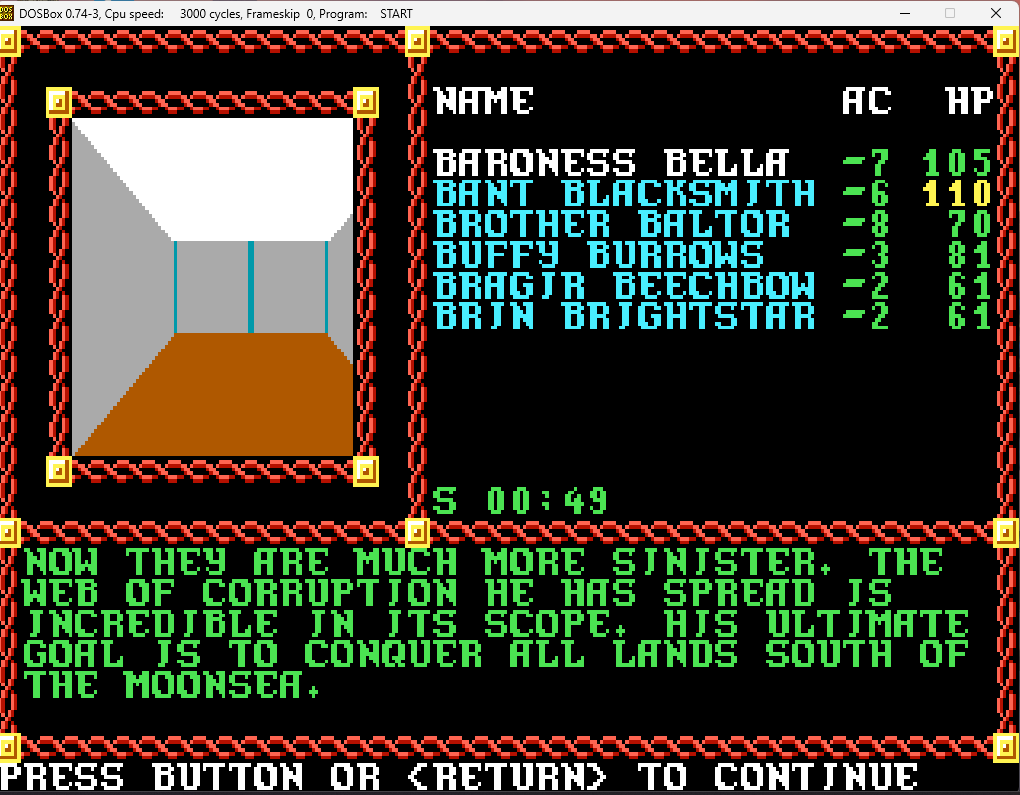
Interesting. He hasn't even conquered everything north of the Moonsea yet, and we're rapidly bringing even that to an end. I guess kudos to him for having lofty expectations and believing in himself.
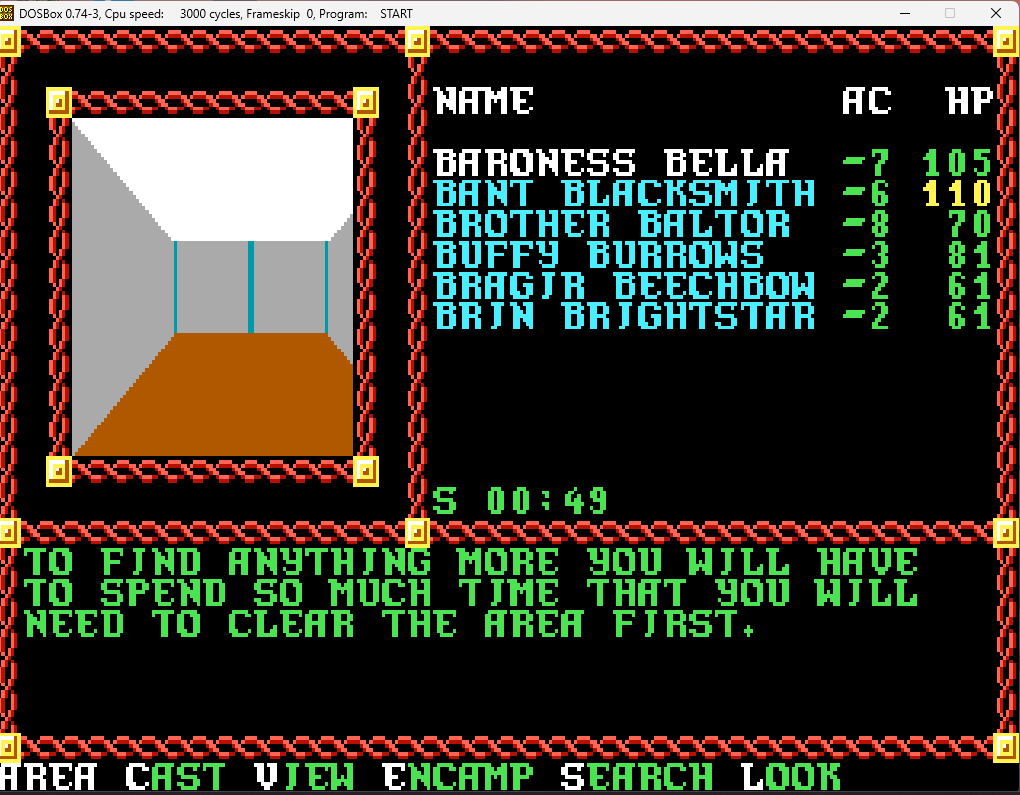
Screenshot 2024-05-11 143519.png


The game not so subtly saying "Get out of here and go kill things".

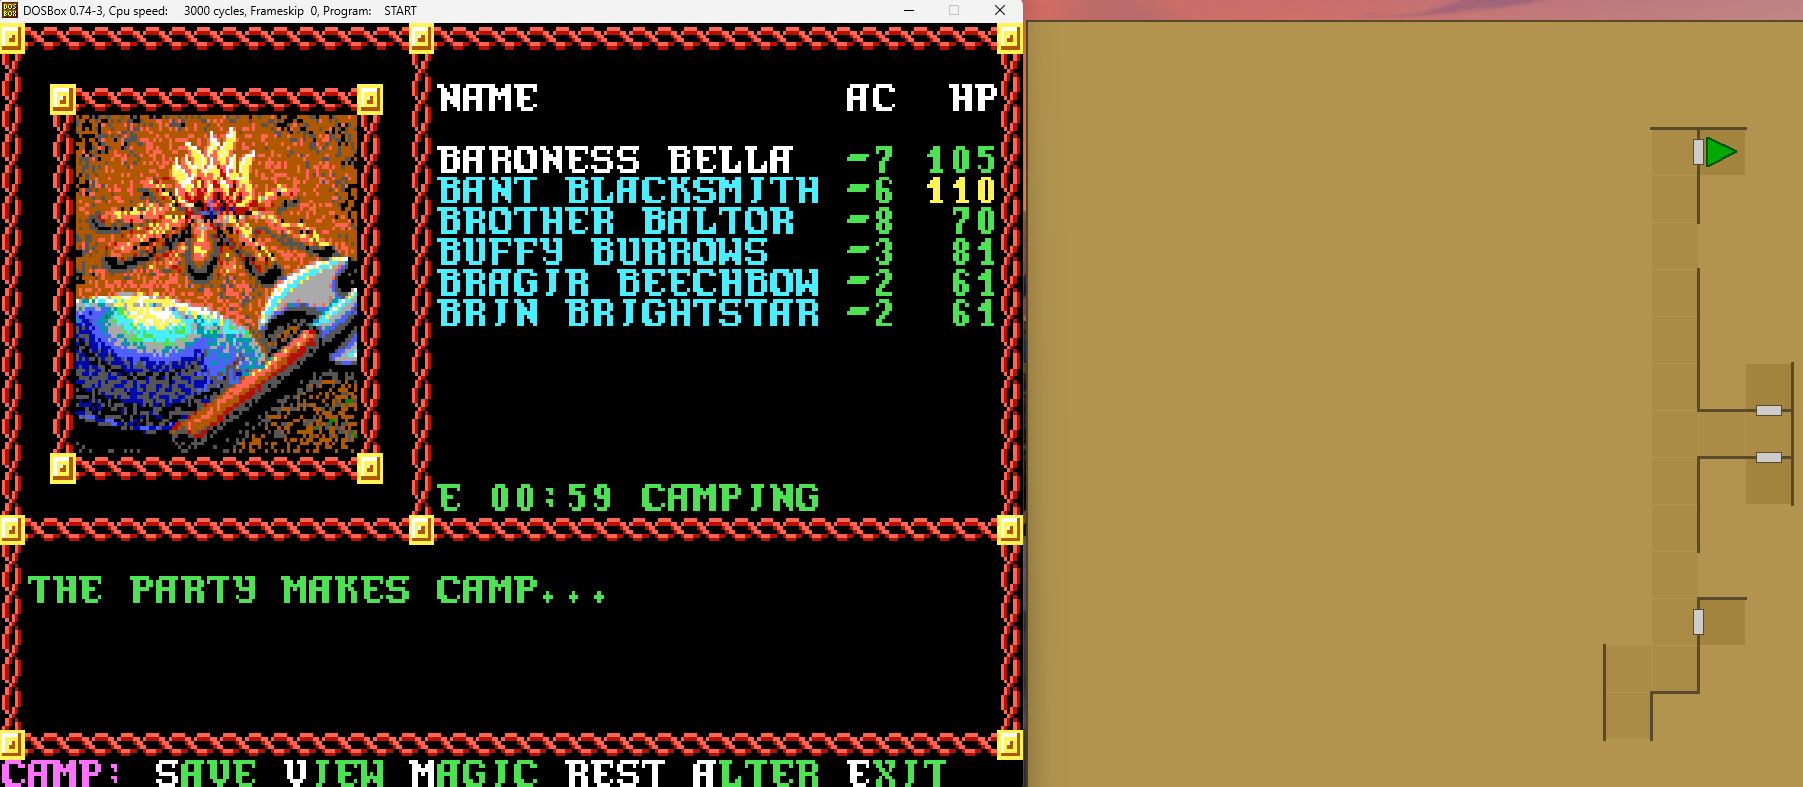
With our spells a bit depleted, we head back to the armory to rest.
Screenshot 2024-05-11 143942.png

Screenshot 2024-05-11 144028.png

Screenshot 2024-05-11 144041.png


Hopefully that will be long enough for the alarms to finally stop going off so we don't have to keep dodging patrols!

We head out, and head west.
Screenshot 2024-05-11 144207.png

Screenshot 2024-05-11 144221.png


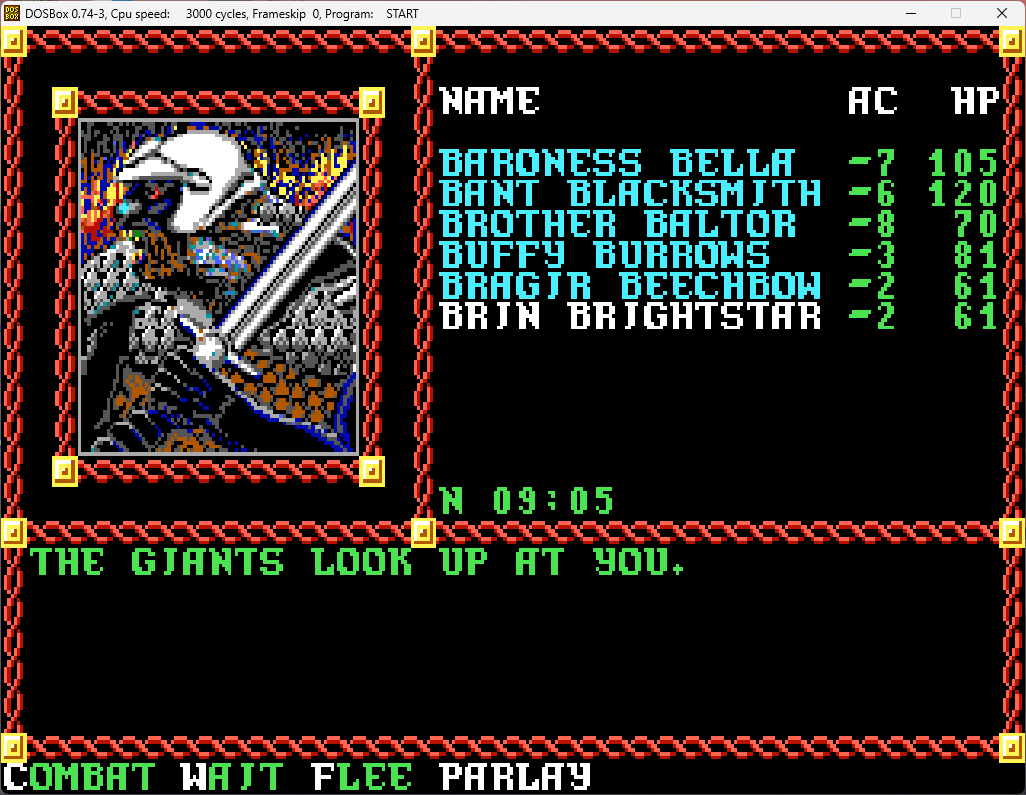
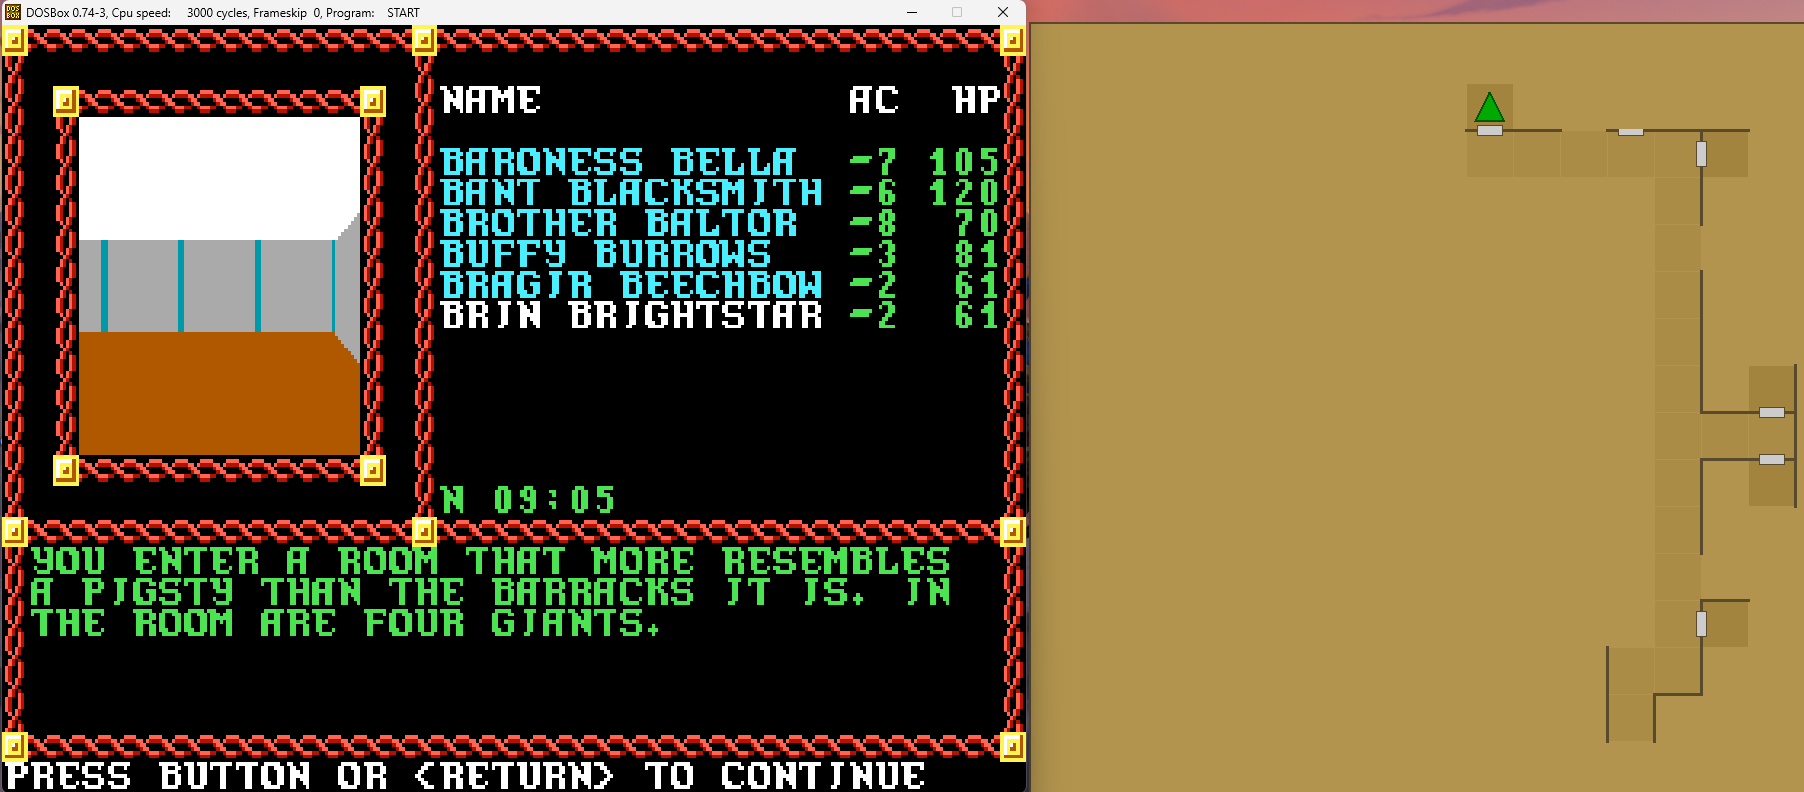
They're fire giants. They're intelligent and orderly, not like their hill giant cousins. So the place shouldn't look like a pigsty. The game has a very low opinion of anything outside the traditional PC races...
Screenshot 2024-05-11 144244.png


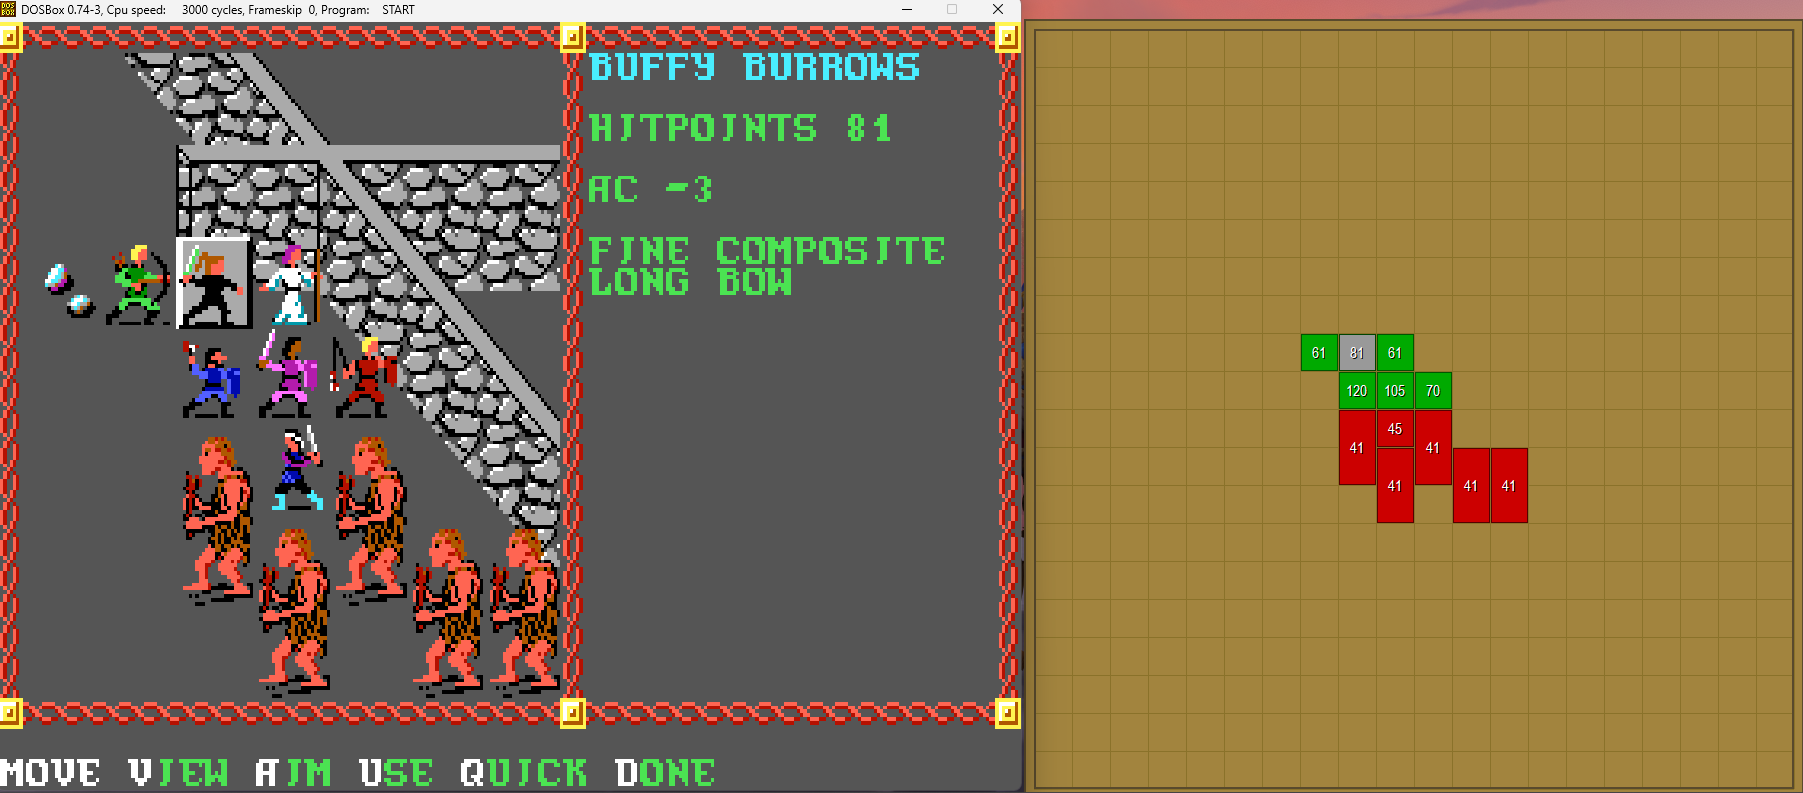
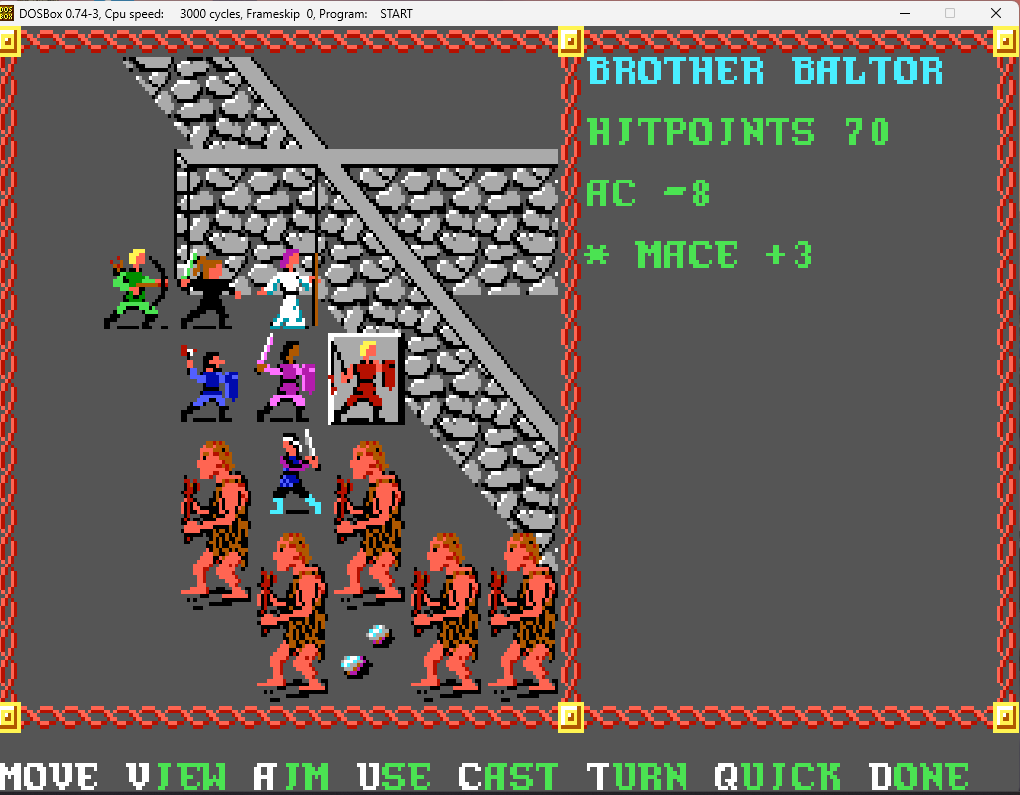
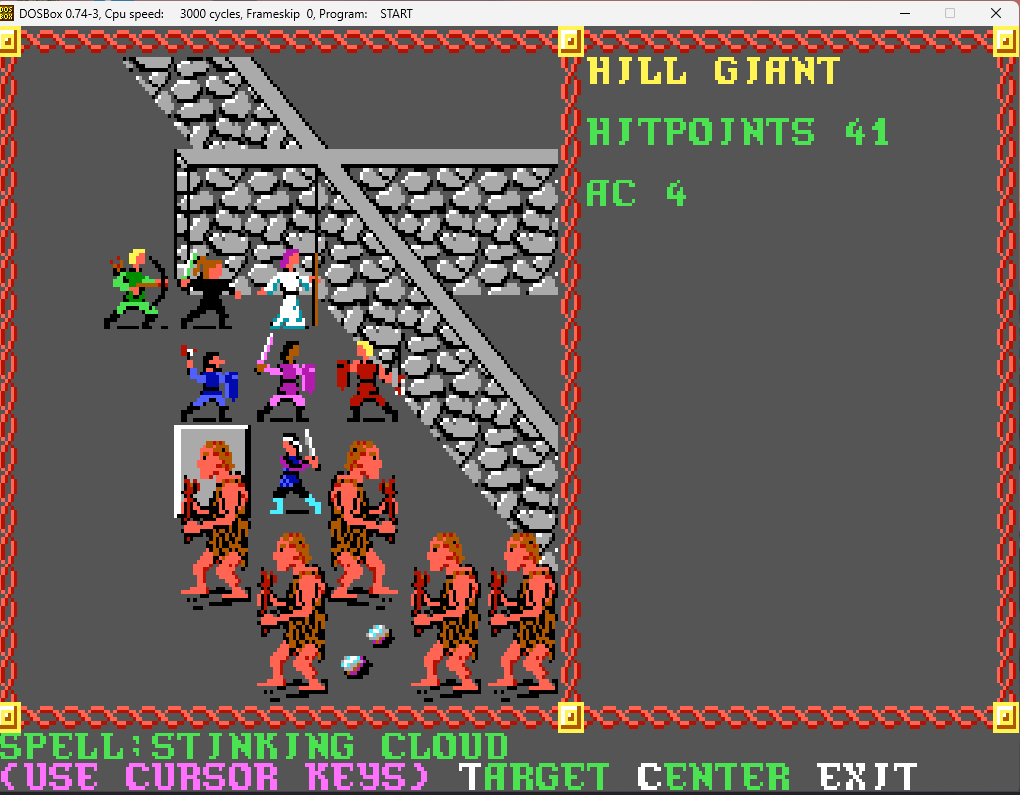
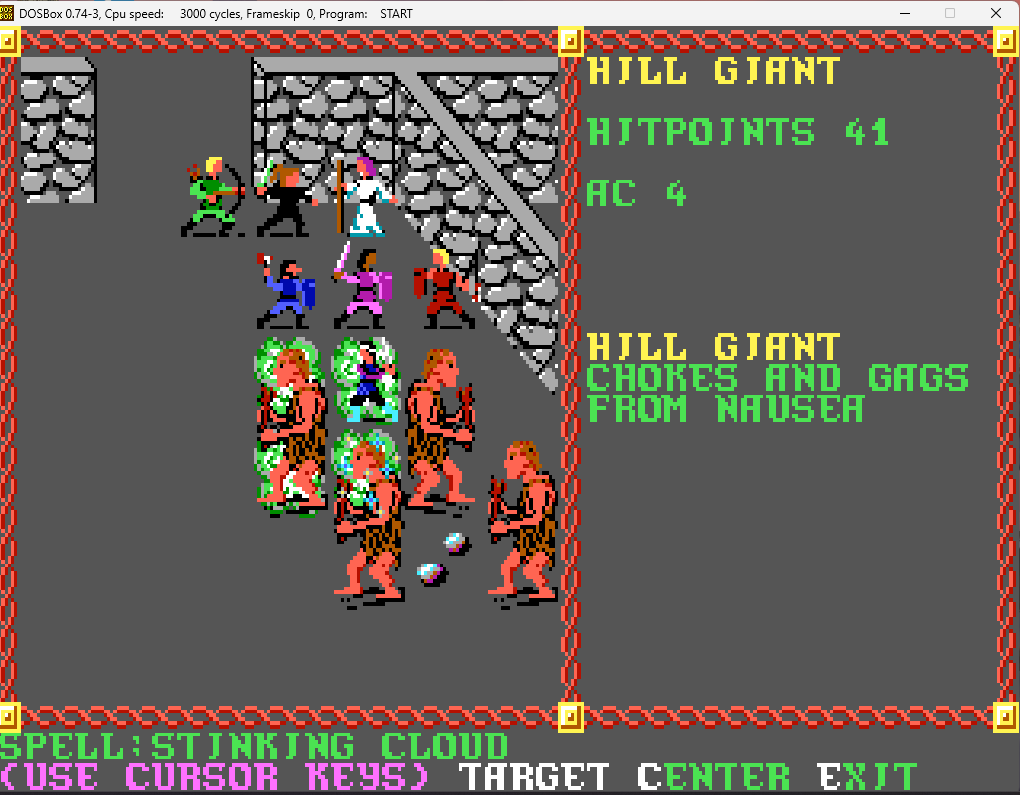
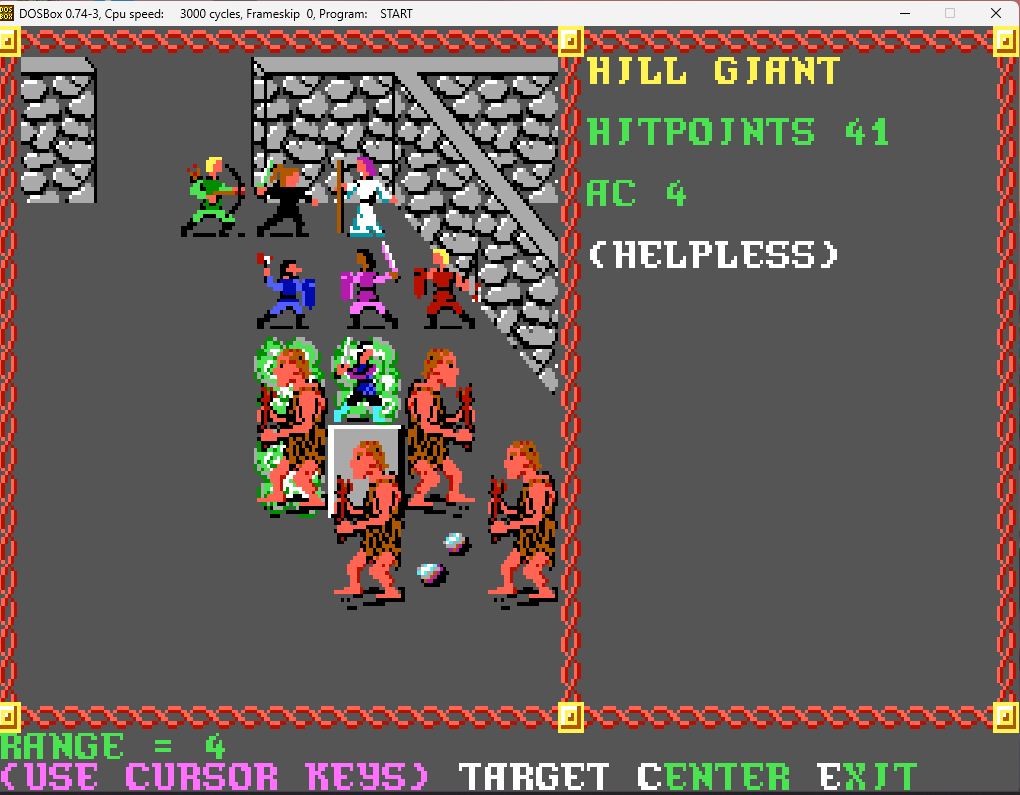
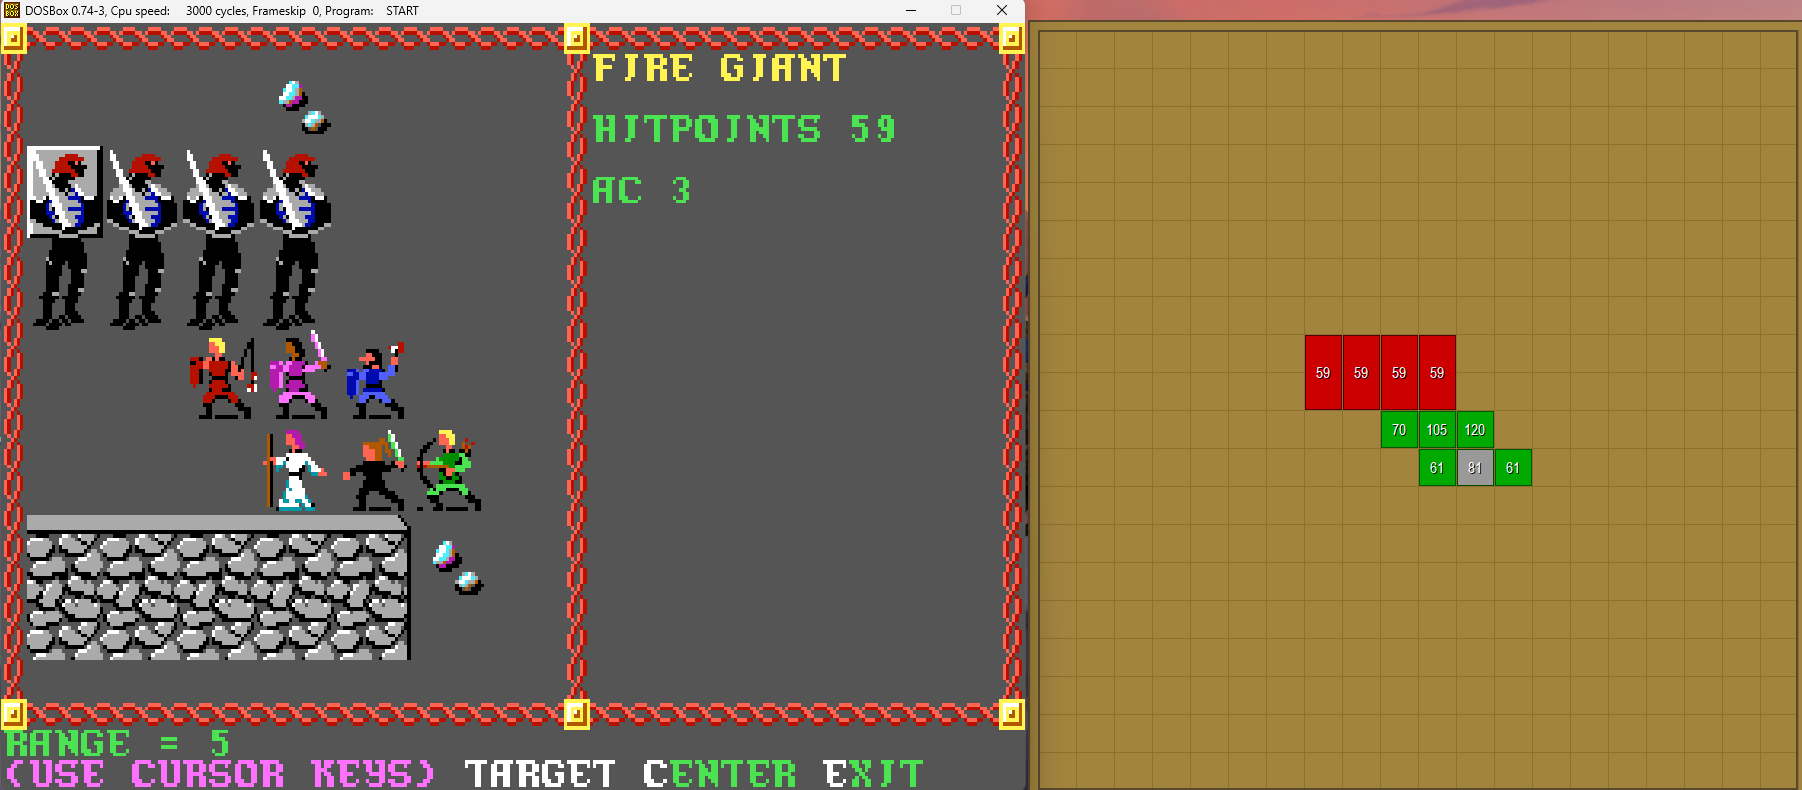
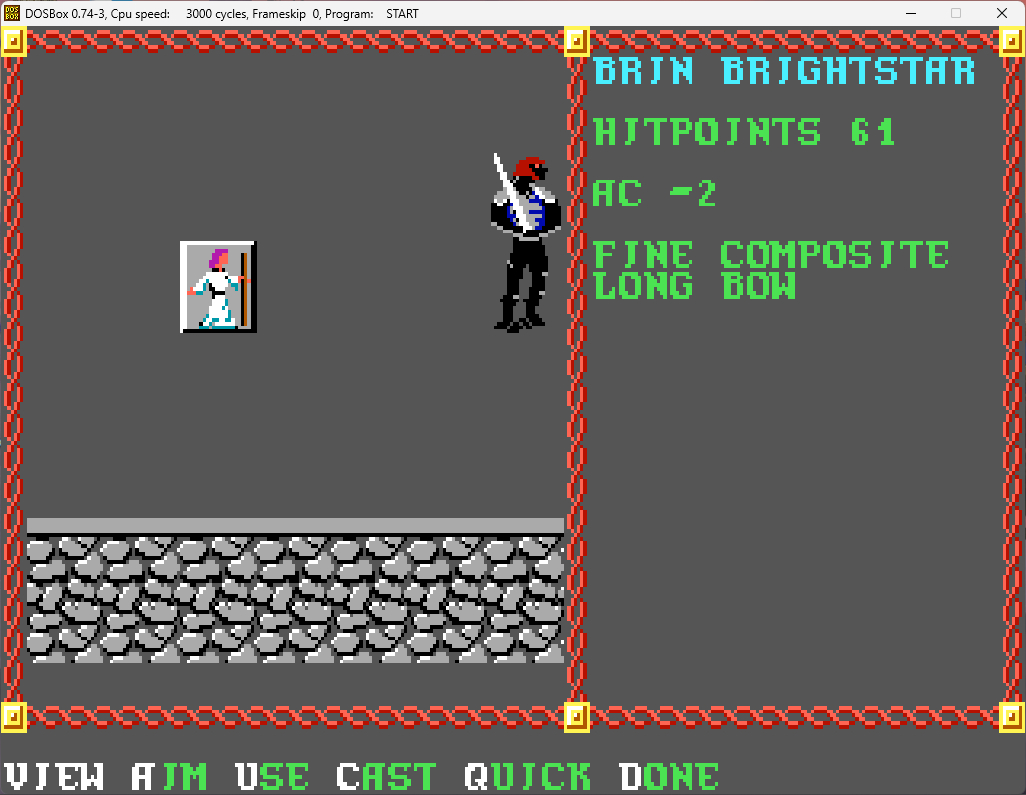
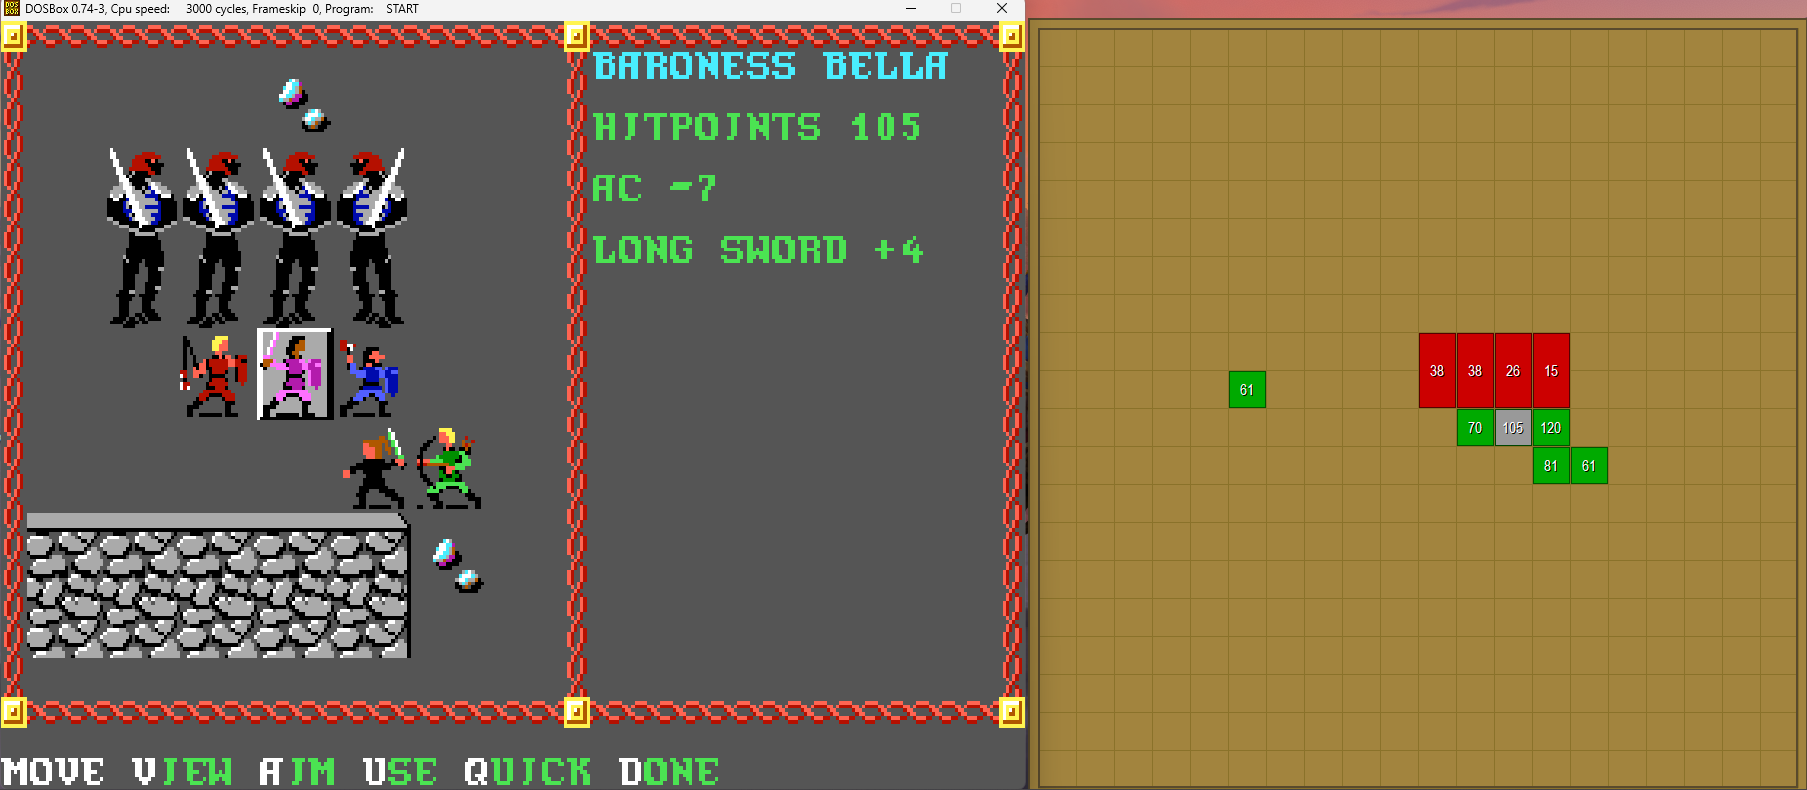
Nicely lined up, we do a risky move with Brin, since fireballs aren't going to be of any help here...
Screenshot 2024-05-11 144315.png

Screenshot 2024-05-11 144324.png

Screenshot 2024-05-11 144342.png


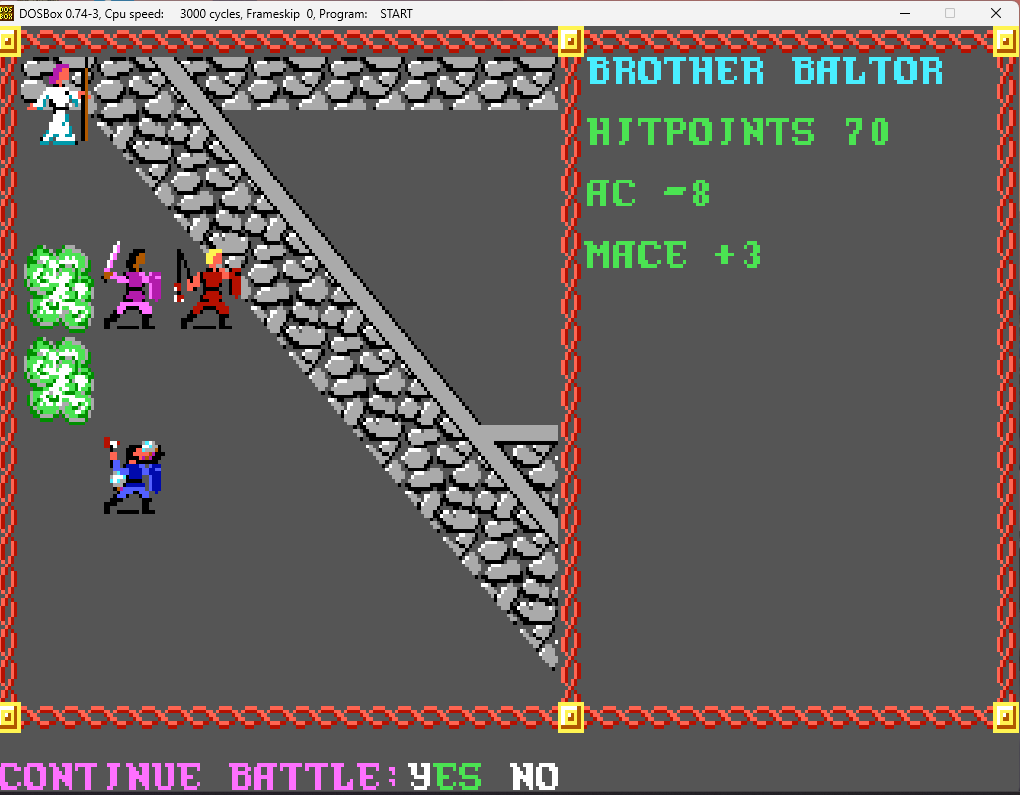
They don't take too much damage, but at least the one nearest Brin decides, surprisingly, not to attack her out there isolated by herself, but to move around the other three to the spot just above Bant.
Screenshot 2024-05-11 144416.png


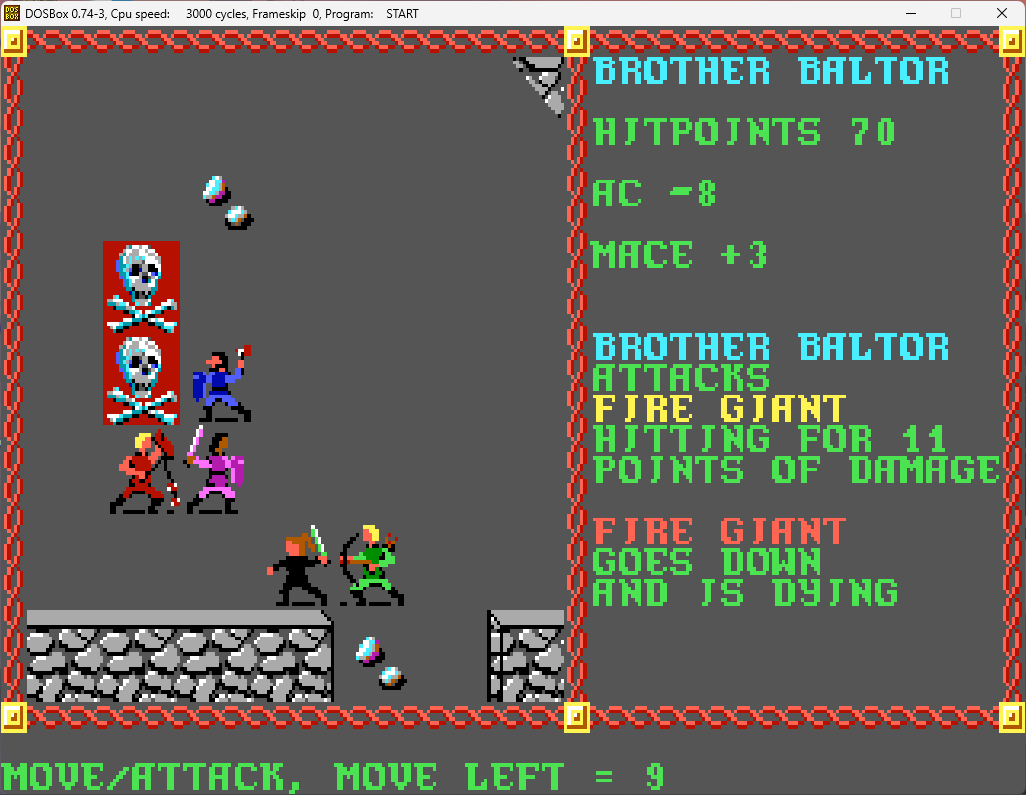
My melee and ranged make quick work of them.
Screenshot 2024-05-11 144512.png


Again, lots of XP, too much coin to carry.

However, they do have something useful on them...

Screenshot 2024-05-11 144550.png

Screenshot 2024-05-11 144558.png


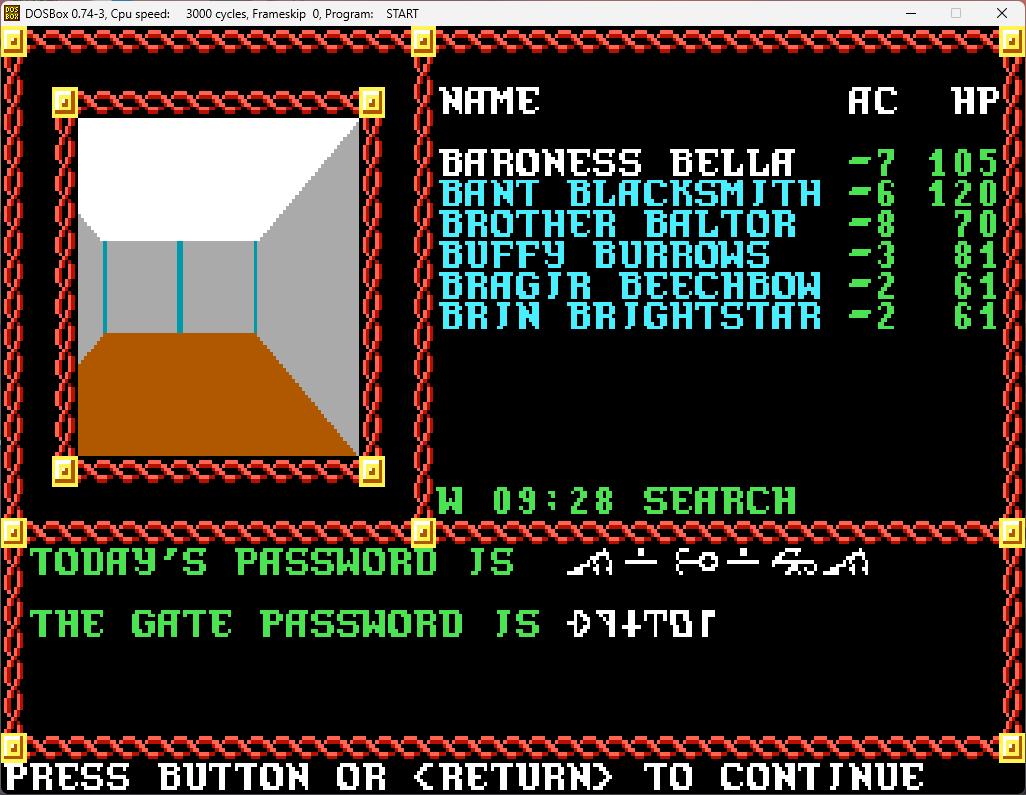
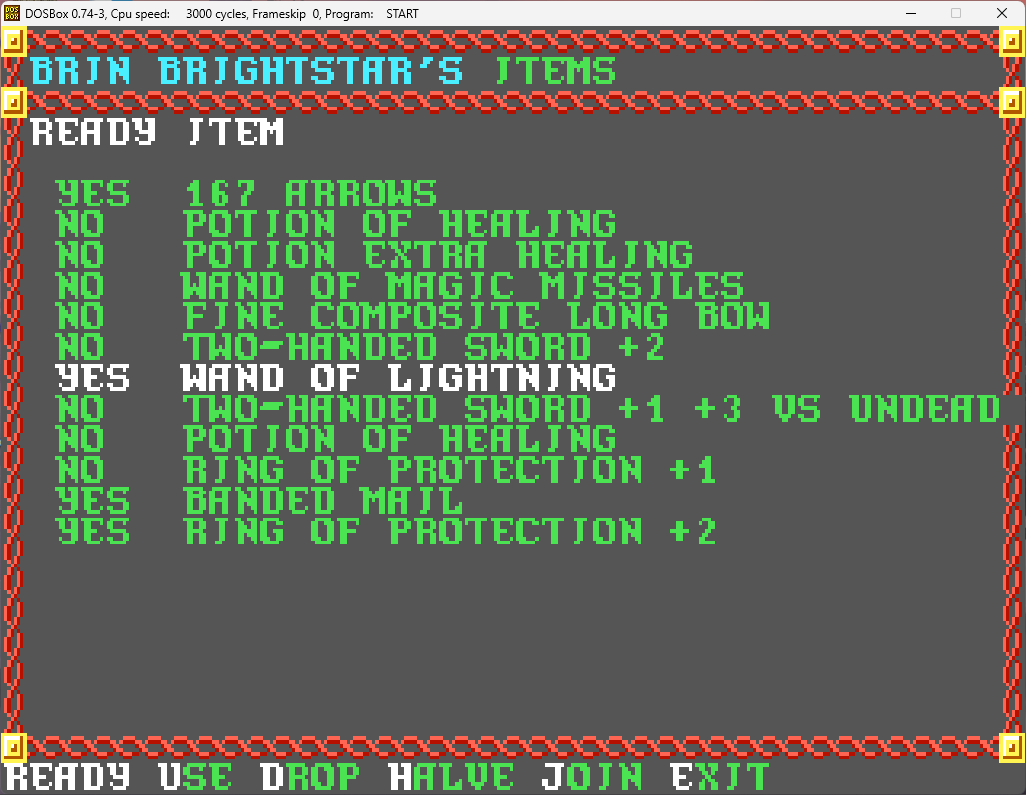
The second one is "RHODIA", which we already knew, and will let us into the hedge maze. The first one, however, is much more useful. It says "HARASH" (in Espruar), and we can use it to get out of the tedious never-ending patrol fights by doing a quick parlay. Yes, we'll lose some potential XP, but most the characters are at or are near the level limits for the game, so that's not going to be a serious loss. In fact, the characters are well above what freshly-made characters in Curse of the Azure Bonds would be starting out at.

Leaving this building, we continue west.
Screenshot 2024-05-11 144733.png


Well, that is interesting. We go investigate.
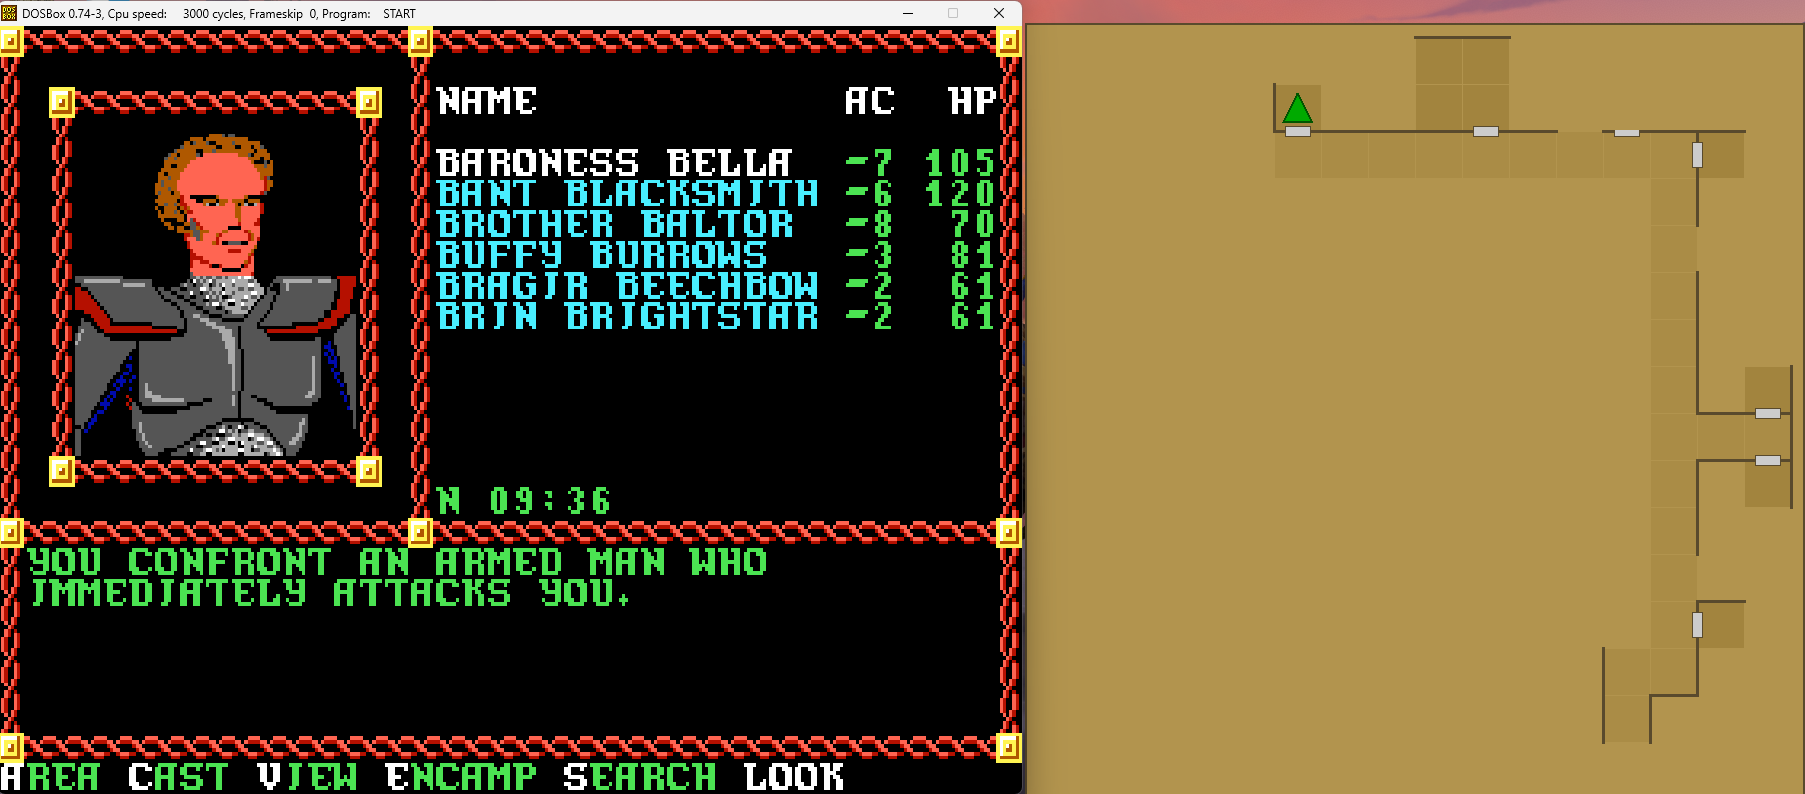
Screenshot 2024-05-11 144842.png


Well, at least he's direct and to the point!

As are we...
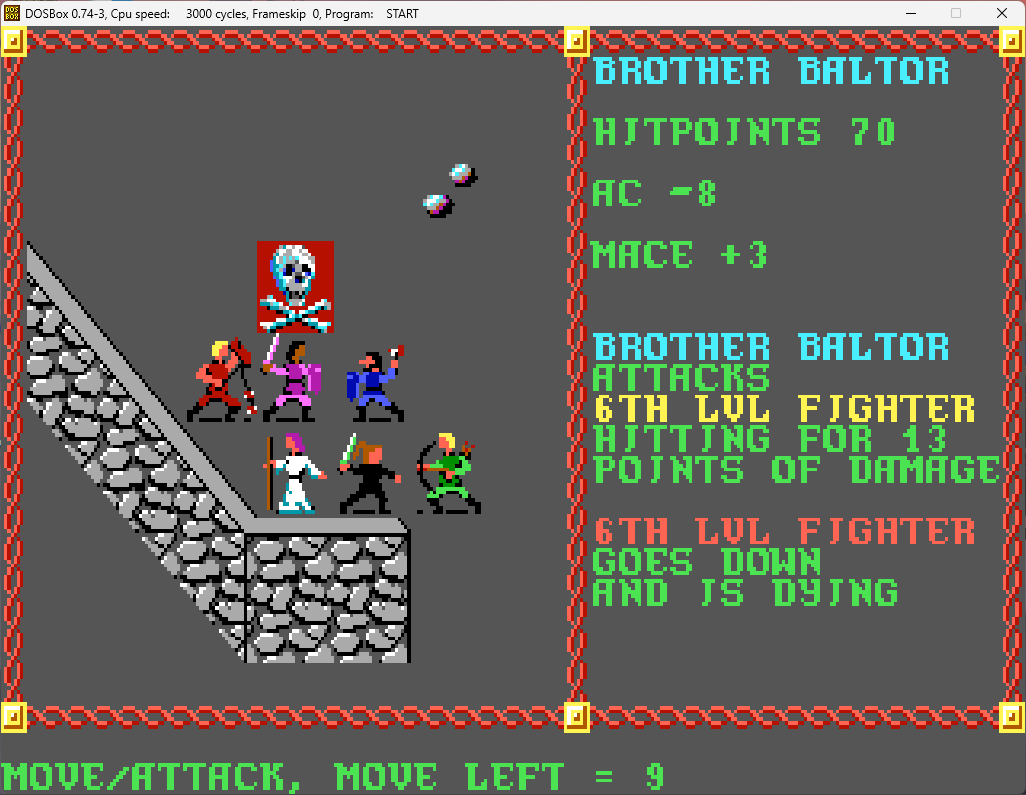
Screenshot 2024-05-11 144906.png


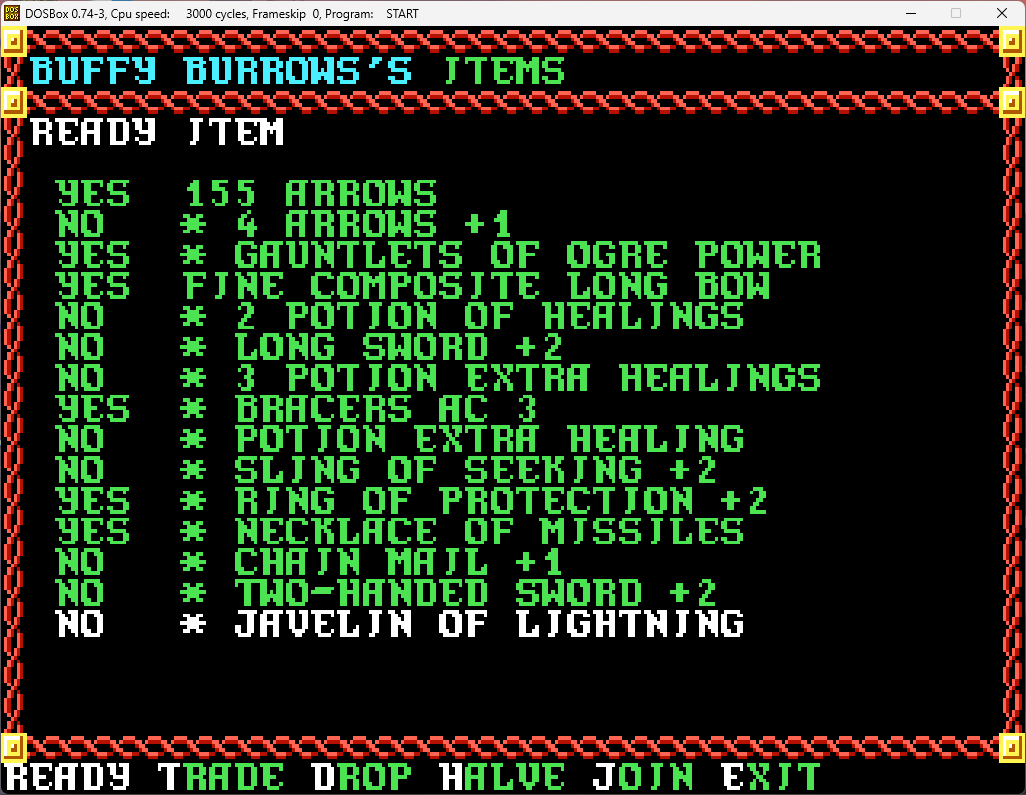
Lots of nice stuff on this one:

Screenshot 2024-05-11 144941.png

Screenshot 2024-05-11 145004.png


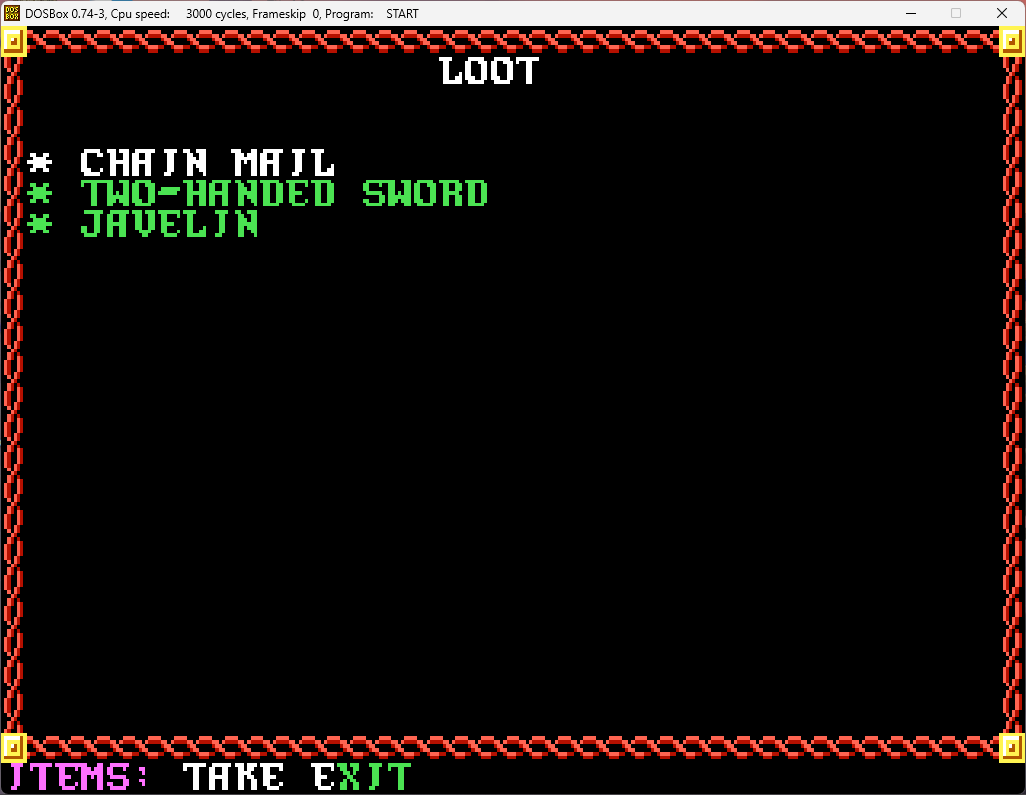
The chainmail and the two-handed sword aren't anything special, but the javelin of lightning is nice, even if it's just a one-shot item.

We head back out, and reach the entrance to the northwestern quadrant, the last section before we head into the hedge maze, and, ultimately, the castle proper itself. We'll start up there next time!
Screenshot 2024-05-11 145029.png
 

log in or register to remove this ad

Pool of Radiance (Part 62): Valjevo Castle (Part 5)

Off to the northwestern quadrant we go.

We explore a short way in, and then enter a door to the north.

Screenshot 2024-05-11 203134.png


Nothing to find here besides the rats, unfortunately.

We leave and continue to walk east.

Screenshot 2024-05-11 203222.png


Hmm, we had this exact same thing happen a short time ago. Again, we enter the building to investigate.

Screenshot 2024-05-11 203231.png


Like before, this guy is straight to the point.

Screenshot 2024-05-11 203533.png


And is quickly disposed of.

Screenshot 2024-05-11 203613.png


No exciting javelin this time, just your standard longsowrd +1

With nothing else to find, we continue to the northwestern corner of the complex, and enter a building there.

Screenshot 2024-05-11 203652.png


Interestingly, this is one of the few times the game forces facing. We were facing west, but the game turned us around to face east towards the incoming threat.

Screenshot 2024-05-11 203702.png

Screenshot 2024-05-11 203743.png


Apparently, no matter what you choose, you confuse them and they go away.

Screenshot 2024-05-11 203752.png


With the threat gone, we search the room.

Screenshot 2024-05-11 203815.png


Of course.

Screenshot 2024-05-11 203824.png

Screenshot 2024-05-11 203834.png


We'll be handing around potions of speed for the final battle (instead of wasting a precious spell slot on haste), so the more we collect, the better!

We walk out the door, and immediately upon doing so...

Screenshot 2024-05-11 203913.png


Another patrol...

Screenshot 2024-05-11 203924.png


But now we have a solution to this continual headache. This time we parlay.

Screenshot 2024-05-11 203944.png


And speak the password...

Screenshot 2024-05-11 203950.png


Again, we're losing XP by doing this, but saving a lot of time and resources by just using the password to make the patrols leave us alone. We turn south, into the last section of this outer ring, to continue our exploration.

Screenshot 2024-05-11 204012.png


Oh, something isn't gross and smelly for once. No need to linger though, and we head south once more.

Screenshot 2024-05-11 204121.png

Screenshot 2024-05-11 204128.png


Ouch! What was that?

Screenshot 2024-05-11 204134.png


Ah, I see. Well, time for some combat then.

Screenshot 2024-05-11 204158.png


Luckily there are just four again.

Screenshot 2024-05-11 204247.png


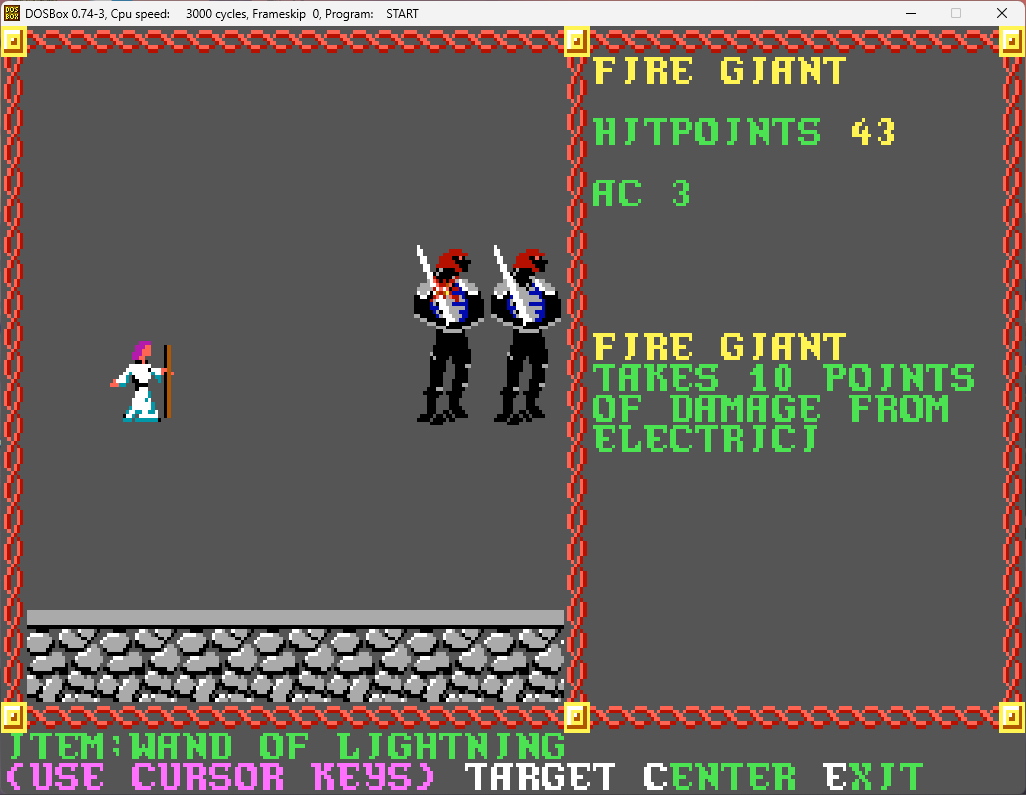
Brin moves around and whips out the wand. It's less risky this time since all four are basically locked down by the melee.

Screenshot 2024-05-11 204258.png

Screenshot 2024-05-11 204326.png

Screenshot 2024-05-11 204335.png


Pretty decent action shot there!

While the wand didn't do much damage, we do take care of them fairly quickly.

Screenshot 2024-05-11 204444.png


You know the story - lots of XP, too much treasure.

As we exit, we look across to the inner wall and see the second entrance to the hedge maze. We'll be headed in there soon!

Screenshot 2024-05-11 204527.png


Our last stop in the outer quadrants is a doorway to the south...

Screenshot 2024-05-11 204629.png

Screenshot 2024-05-11 204647.png


Another nicely bunched-up group of hill giants. You know what that means...

Screenshot 2024-05-11 204706.png


Actually, both of my magic users shoot off a fireball, at the same target location.

Screenshot 2024-05-11 204731.png


First Brin gets off a nice 21 damage one...

Screenshot 2024-05-11 204738.png


And Brandir gets of a monumental 28 damage one!

Screenshot 2024-05-11 204806.png


Between the two fireballs, we kill or badly weaken all of them, so clean-up is short and quick.

Screenshot 2024-05-11 204859.png


Lots of XP, too much treasure to carry. Again.

We search the room a bit...

Screenshot 2024-05-11 204954.png


OK, this will hopefully make up for the treasure from the giants we were unable to carry.

Screenshot 2024-05-11 205004.png


Well, not exactly.

And with that anticlimactic discovery, we've completed the four outer quadrants of the castle. Only the hedge maze and the inner tower remain to complete the game! We'll head back to town one more time before we tackle those areas.

We head out of the castle grounds...

Screenshot 2024-05-11 205040.png


Through Stojanow Gate...

Screenshot 2024-05-11 205054.png


Through Podol Plaza and Kuto's Well...

Screenshot 2024-05-11 205120.png


And through the Slums back into the city proper.

Screenshot 2024-05-11 205157.png


When we defeat Tyranthraxus, we're just going to murder them in the street. We'll be so popular at that point that bystanders will probably cheer us as we do it.

No need to visit the city clerk, so we just head to the store to sell extra stuff and consolidate our funds.

Screenshot 2024-05-11 205216.png

Screenshot 2024-05-11 205613.png


Yeah, there has to be an overflow error in the funds, as I had much more platinum than that. Thankfully, it's not like it's hurting me much, with all those gems and jewels.

We head to the inn to rest and memorize spells.

Screenshot 2024-05-11 205738.png


Next time, we enter the Hedge Maze. We're now just a handful of posts away from completing the game!


Maps of the four outer quadrants of the castle:


Screenshot 2024-05-11 205938.png
Screenshot 2024-05-11 205946.png
Screenshot 2024-05-11 205953.png
Screenshot 2024-05-11 205959.png
 
Last edited:


Pool of Radiance (Part 63): Valjevo Castle (Part 6)

We're headed of out of the settled area for probably the last time, as there's not going to any real reason to head back into town from here on out before we've completed the game. The next time we return, it should be as conquering heroes!

So we head back to the Slums, past our favorite suspicious guards...

Screenshot 2024-05-13 160112.png


Through Kuto's Well...

Screenshot 2024-05-13 160155.png


Through Podol Plaza and to the Stojanow Gate:

Screenshot 2024-05-13 160218.png


And into the outer area of Valjevo Castle.

We head back to the northwestern quadrant, to the gates we passed by a short time ago.

Screenshot 2024-05-13 160306.png


We learned the password from the enslaved cook.

Screenshot 2024-05-13 160323.png

Screenshot 2024-05-13 160330.png


And into the hedge maze!

This maze is huge, taking up the better part of four 16 x 16 squares. And while, yes, you can cut through the hedges, it's not a good idea as there's a good chance one or more party members will be insta-killed by the poisonous thorns as you push through. So, we'll avoid that potential fate and just stick to the open paths...

Immediately to our left is a building (in fact, there's a building in all four corners of the maze), so we'll move around a bit to see if we can find an entrance.

Screenshot 2024-05-13 160426.png


And there it is. We'll head in.

Screenshot 2024-05-13 160440.png


Hmm, still a bit suspicious...

Screenshot 2024-05-13 160529.png


Nah, let's attack.

Screenshot 2024-05-13 160536.png


Well, OK then. Let's see these notes.

Screenshot 2024-05-13 160555.png

Screenshot 2024-05-13 160644.png


Interesting. But not much beyond what we've already learned.

Screenshot 2024-05-13 160941.png


We then head through the maze, heading south by southeast. I chose the entrance we came in because it's the quickest way to get to our next objective, which we are heading for now.

Through the maze we go...

Screenshot 2024-05-13 161008.png


Over to the southeastern portion of the maze.

Screenshot 2024-05-13 161032.png


Until we get to a doorway into the central tower.

Screenshot 2024-05-13 161117.png


In we go...

Screenshot 2024-05-13 161208.png


Gasp! Is this Tyranthraxus? Have we found the Boss at last?

Screenshot 2024-05-13 161218.png


It is! He's a little less... fiery than advertised, but if he says he's Tyranthraxus, he has to be, right?

We parlay...

Screenshot 2024-05-13 161253.png


And choose "Sly"

Screenshot 2024-05-13 161512.png


Oh my, he appears to be an impostor! Who would have believed it?

Screenshot 2024-05-13 161633.png


We confront "Tyranithraxus" and two thief bodyguards.

We quickly take down the false Boss.

Screenshot 2024-05-13 161722.png


Irritatingly, the thieves can't be targeted, from being all thief-y I assume..

Screenshot 2024-05-13 161738.png


Let's try a different tactic to target them...

Screenshot 2024-05-13 161754.png

Screenshot 2024-05-13 161811.png


Darn, not even that is working. Well, everyone start meleeing away!

Screenshot 2024-05-13 161816.png


And then the last one starts running across the room. Since he can't be targeted by ranged weapons, this is extra irritating. The party begins to give chase..

Screenshot 2024-05-13 161903.png


And Baroness Bella takes him down.

Screenshot 2024-05-13 161943.png

Screenshot 2024-05-13 161948.png


Nice XP! I wonder what treasures they may have?

Screenshot 2024-05-13 162003.png


Not bad.

Screenshot 2024-05-13 162010.png


Very interesting.

Screenshot 2024-05-13 162021.png


And this is why we bee-lined to this fight. The longsword +5 is obviously the best weapon in the game, and, even by the most Monty Haul-est of campaigns' standards, completely ridiculous to give to a party of 6th - 7th level (which is why we only get to keep it for the about 10 combats left in this game before we lose everything at the start of Curse of the Azure Bonds). We won't turn it down though! Baroness Bella will equip that, send her sword to Bant, who sends his sword to Buffy. Buffy will also take the ring, which is an improvement for her.

Screenshot 2024-05-13 162221.png


That's very impressive for a 7th level character!

There are no exits to the rest of the central keep building from the False Tyranthraxus' throne room, so back out we go, heading back up towards where we met the captive mage in the northwestern corner.

Unfortunately for us, we set off another alarm when killing the false Boss, but here in the maze there will be fewer combats while it's going off than there were when we were outside it. That doesn't mean there aren't any combats though!

Screenshot 2024-05-13 162459.png

Screenshot 2024-05-13 162523.png


With only four, we should take them out pretty easily, as long as no one gets bitten and fails their save.

Screenshot 2024-05-13 162616.png


Brother Baltor did get bitten, and pretty badly, but thankfully made his save and isn't dying of poison right now.

And we quickly take down the last snake.

Screenshot 2024-05-13 162638.png


Now we are going to head south, so we head past the courtyard in front of the gates we came through earlier.

Screenshot 2024-05-13 162706.png


Whoops, wrong way, we just looped back around on ourselves!

Screenshot 2024-05-13 162803.png


We head to the southwestern section.

Screenshot 2024-05-13 162834.png


And around through the endless maze...

Screenshot 2024-05-13 162933.png


Until we reach the entrance to the southwestern building. In we go!

Screenshot 2024-05-13 163018.png


We surprise some giants.

Screenshot 2024-05-13 163046.png

Screenshot 2024-05-13 163100.png


Three hill giants won't even cause us to break out in a sweat.

Screenshot 2024-05-13 163128.png


And Baroness Bella takes down the last one with her new sword.

Screenshot 2024-05-13 163213.png


Like usual with giants lots of XP, but uselessly large amounts of coin.

We leave the building and head to the southeastern quadrant.

Screenshot 2024-05-13 163514.png


We wind through the never-ending maze...

Screenshot 2024-05-13 163651.png


And reach the building in the southeastern corner. We go in...

Screenshot 2024-05-13 163716.png


And... we've reached the upload limit. The undoubted horrors that lay beyond will need to wait until the next post!
 
Last edited:


Characters safely transferred over to Curse! Without their equipment, of course, since they couldn't let you keep all your nice stuff. The transfer required me to re-edit stats, as it reverted to the defaults I posted about back at the beginning, and even stripped the extra CON point from Baroness Bella from the magical tome (that's completely unfair of course, but she did still maintain her hit point total). Also had to run a quick fix for the GBC paladin and ranger mod (just download from the GBC website and follow the instructions), since the modded powers don't transfer and have to be re-added. At least Brother Baltor now has has his extra damage vs giants ability! That didn't even exist in PoR, so couldn't be modded in. Thankfully, transferring to the later games is nowhere near as involved.

Now back to posting the final parts of the Pool of Radiance walkthrough...
 
Last edited:

Pool of Radiance (Part 64): Valjevo Castle (Part 7)

We open the door to the southeastern room of the hedge maze.

Screenshot 2024-05-13 163810.png


Again, the game thinks fire giants are as dumb as hill giants. This is demeaning. The Fire Giant Anti-Defamation League should send in strongly-worded letters.

Anyway, what are they arguing about?

Screenshot 2024-05-13 163818.png


Of course its something silly. Granted, frogs and toads would be absolutely tiny from a giant's perspective, so I can see how they would have trouble telling them apart.

Technically, frogs and toads aren't exactly equivalent. Toads are a sub-clade of frogs, so not all frogs are toads, thus making them not equivalent. We tell them that.

Screenshot 2024-05-13 163849.png

Screenshot 2024-05-13 163919.png


Our friend tried to help, and then forgot he tried to help. Well, in any case, time for battle!

Screenshot 2024-05-13 163935.png


Four fire giants aren't too hard for us at this point, so we charge forward.

Screenshot 2024-05-13 164024.png


And soon they are taken down.

Screenshot 2024-05-13 164112.png


Like always, too much money to carry off. Random clean-up persons are going to find several fortunes after this is all over.

Screenshot 2024-05-13 164128.png


We leave the southeasten corner room. We head north a bit, and see the gates that lead to the southeastern quadrant.

Screenshot 2024-05-13 164258.png


We head up north to the northeastern section of the maze.

Screenshot 2024-05-13 164435.png


Along the long paths of the maze...

Screenshot 2024-05-13 164613.png


Until we reach the northeastern corner building, the last of the four for us to find.

Screenshot 2024-05-13 164633.png


We enter...

Screenshot 2024-05-13 164808.png

Screenshot 2024-05-13 164820.png


Hmm, even a pack of trolls shouldn't be too much of an issue.

Screenshot 2024-05-13 164838.png


Only eight of them.

And you know what's good for trolls? Fire.

Screenshot 2024-05-13 164909.png

Screenshot 2024-05-13 164917.png


That's a pretty good damage for a fireball at this level!

With them damaged pretty severely, we take them down quickly...

Screenshot 2024-05-13 165106.png


And with that, we're done with the set locations within the hedge maze. Only the Inner Tower awaits!

So, before going into the final section, we take a quick rest to heal up and regain spells.

Screenshot 2024-05-13 165332.png


Rested up, we return to one final wander through the hedge maze.

Screenshot 2024-05-13 165440.png


We head back south to the southeastern section...

Screenshot 2024-05-13 165518.png


More and more hedge maze...

Screenshot 2024-05-13 165538.png


Circle back and re-enter the northeastern section through another entrance.

Screenshot 2024-05-13 165620.png


Go to the northwestern section.

Screenshot 2024-05-13 165706.png


And enter the doorway to the main part of the inner tower.

Screenshot 2024-05-13 165740.png


Going inside, we enter what appears to be a large featureless room with no exits.

Screenshot 2024-05-18 170612.png


But our searching shows us something different!

Screenshot 2024-05-18 170623.png


There's a hidden doorway here!

We go through and find stairs up (note that the wall to the left is invisible from this side, if it wasn't completely illusory to begin with).

Screenshot 2024-05-18 170634.png


We go to a landing on the second level. There are stairs down behind us (where we came up), ahead of us, and, apparently, a secret door to the left. At least this time the game told us! However, we leave it be for a moment, and head down the steps ahead.

Screenshot 2024-05-18 170703.png

Screenshot 2024-05-18 170741.png


Yes we do.

We enter a room that seems a bit... weird. And worrisome!

Screenshot 2024-05-18 170804.png


Oh, nothing suspicious about statues frozen in terror, right? Someone just has weird taste...

Screenshot 2024-05-18 170821.png


Well, so much for that hope. We need to kill her before she can use her gaze attack!

Screenshot 2024-05-18 170839.png


Which we do, pretty easily.

Screenshot 2024-05-18 170854.png


She unfortunately doesn't give much in the way of XP, or have much treasure. The giants have spoiled us concerning both of those recently.

We head back up the steps, and then through the secret door we found there.

We reach the second level proper, and take the corridor to the right.

Screenshot 2024-05-18 171022.png


Sure, why not?

Screenshot 2024-05-18 171036.png


It just leads back to the medusa room, so there's no need to jump, other than to take falling damage. If the medusa were still alive, the character opening the trapdoor would have had a chance to be petrified.

We leave this room and head back to the other corridor leading from the steps.

Screenshot 2024-05-18 171238.png


We've come all this way to be confronted with some of the most diabolical foes of all - bureaucracy and waiting rooms! Curse you Tyranthraxus and your evil schemes!

We go talk with the dagger-happy dude waiting with us.

Screenshot 2024-05-18 171314.png


We decided to parlay nicely with him, but he doesn't have much to say.

Screenshot 2024-05-18 171341.png

Screenshot 2024-05-18 171349.png


Well, it would be rude to turn down an invitation like that!

Screenshot 2024-05-18 171407.png

Screenshot 2024-05-18 171420.png


Despite wanting to yell out "Your death!", we parlay nicely with him. Lovely laurel leaves by the way. Someone's a Caesar wannabe. That never bodes well.

Screenshot 2024-05-18 171434.png


Execute Order 66, right.

(Al-Hyam Dhazid was the scared wizard we found at the start of the hedge maze).

We don't leave immediately. This makes him suddenly and suspiciously nervous.

Screenshot 2024-05-18 171443.png

Screenshot 2024-05-18 171448.png


Nah, bud. This has "stab you in the back" written all over it.

He takes our rejection of his plan poorly.

Screenshot 2024-05-18 171514.png


But it's quickly over for him.

Screenshot 2024-05-18 171532.png


Hopefully he has something nice.

Screenshot 2024-05-18 171613.png


Ah, a replacement for the one that he used up in the graveyard!

And the XP gained by killing him is enough to get Baroness Bella to the next level!

Screenshot 2024-05-18 171622.png

Screenshot 2024-05-18 171644.png


And what perfect timing! For all that's left to do is to go over to the stairwell outside the office and head down to chamber of the Pool of Radiance and confront Tyranthraxus himself! Join us here next time, as we fight the final battle and complete the game!
 
Last edited:

Pool of Radiance (Part 65): Valjevo Castle (Part 8) - Valjevo Castle and GAME completed!

This is it! Time to finish Tyranthraxus off and complete the game!

Screenshot 2024-05-18 171728.png


As we stand in front of the stairwell looking down, it's obviously time to buff up. I didn't memorize haste as I have several potions of speed around, so it's time to start using those.

Screenshot 2024-05-18 171806.png


(At the start of the next combat, each character who used a potion of speed will get a message that they have aged, which will add one year to their age on their character sheet. As Baroness Bella is the only human with a relatively short lifespan, this doesn't matter too much, and for her, elixirs of youth are available in later games once we start using the potion's equivalent spell haste on a more frequent basis)

Also, it's time to use those potions of giant strength I've been hoarding.

Screenshot 2024-05-18 171830.png


What? Wrong class? I guess the modded paladin and ranger classes are causing it to bug out. This is seriously annoying. Well, at least the potions of speed work. Bant and Brother Baltor use the ones they have as well.

Screenshot 2024-05-18 171858.png


The potion of giant strength works for Bant at least.

Brother Baltor casts his buffing spells:

Screenshot 2024-05-18 172131.png


(Oops, I only got a screenshot after he had cast bless and prayer.

But now, for the BIG buff:

Screenshot 2024-05-18 172200.png


I've been saving the dust of disappearance until this point. It's like a hugely overpowered mass invisibility spell that lasts for a very long time and doesn't drop even after attacking or casting spells. Basically, no foe can target anything but melee attacks on those immediately next to them, and even those are at a negative. As no equipment or items transfer to Curse of the Azure Bonds, there is simply no reason not to use it now.

Here is what the party looks like buffed out:

Screenshot 2024-05-18 172223.png


Weird. I'm not sure if there's some bugs going on here, but characters under the same effect have different durations. I've never seen that happen in one of the Gold Box games before. I'll chalk it up to PoR early installment weirdness.

All buffed up, we head down the steps.

Screenshot 2024-05-18 172250.png

Screenshot 2024-05-18 172259.png


An ancient bronze dragon? How unusual! But we've read multiple accounts concerning Tyranthraxus taking over host bodies, so probably the dragon is an unfortunate victim to that process.

(Also, an ancient dragon in 1e is nowhere near as ominous as it would be in later editions).

Screenshot 2024-05-18 172309.png


Whelp, the inevitable guards and fight against them.

Screenshot 2024-05-18 172421.png


Wait, it said two guards previously. That's 12! Oh well, we should be able to take them out pretty quickly, especially being buffed and invisible.

Both magic users go quickly, and both immediately decide that fireball is the best option here...

Screenshot 2024-05-18 172447.png


Both will choose the same target location.

Screenshot 2024-05-18 172533.png

Screenshot 2024-05-18 172542.png

Screenshot 2024-05-18 172610.png


Both get decent damage from them. But these guards have 87 HP each, so it's going to take a bit to wear them down.

Screenshot 2024-05-18 172622.png


As they can't see me, the enemies outside of melee range just stand there and guard.

Since they remain lined up, my magic users decide to use some other items...

Screenshot 2024-05-18 172701.png

Screenshot 2024-05-18 172714.png

Screenshot 2024-05-18 172753.png


And I don't have to worry about the guards moving to attack them when they are all isolated out there due to the invisibility!

We've started to grind them down after a couple of rounds.

Screenshot 2024-05-18 172800.png


Buffy tries to get into the magic action.

Screenshot 2024-05-18 172810.png


But with less than spectacular results.

Screenshot 2024-05-18 172841.png


As the melee have started to take down the ones directly in front of them, Brin switches out to her bow, but Bragir launches another bolt from his wand.

Screenshot 2024-05-18 173007.png


(This one made his save, it was actually a 16 point damage bolt)

After that, we take care of them pretty quickly. Buffy tried to get in some backstabs, but just didn't have any luck.

Screenshot 2024-05-18 173219.png

Screenshot 2024-05-18 173239.png


Nice! That's enough for Brother Baltor to level up!

Screenshot 2024-05-18 173249.png

Screenshot 2024-05-18 173258.png


As for their treasure:

Screenshot 2024-05-18 173325.png


I failed to get a screenshot of it, but they are all plate mail +2, which is an improvement for the magic-users. They quickly equip it while Tyranthraxus waits impatiently to have his BBEG final battle speech of gloating and hubris.

Here's how the party looks going into that battle. We didn't even take a hit from the guards.

Screenshot 2024-05-18 173420.png


(The level limit on cleric is really hurting Brother Baltor's hit points here - he goes up significantly at the start of Curse of the Azure Bonds when he can level in cleric again. He's out two cleric levels at the moment because of the limit!)

We make ourselves comfy for the inevitable incoming Big Bad rant.

Screenshot 2024-05-18 173507.png

Screenshot 2024-05-18 173515.png


Really? We just carved through your guards like they were butter.

But the game forces each character to choose yes or no. If you have evil NPCs along (hirelings, for example), they will choose to join him.

Screenshot 2024-05-18 173521.png


After we all choose "Attack", the final battle starts!

Screenshot 2024-05-18 173543.png


(The icon actually looks pretty good, other than the wings, which just look completely wrong. Thankfully, dragon icons in the later games actually look really good. In fact, there's an overall graphics improvement for all things, including foes, in all of the games after this one)

Really, the only problem is that he has a very low AC, but with the weapons we have, that's not as a significant problem as it could be. Also, most of our buffs are still up, including most importantly, the invisibility. We hit him a few times (and a few misses) before his turn comes up. He attempts to use his breath weapon (which went so quickly that I didn't get time to get a screenshot), but because he can't see a target, he aborts it! Meaning, by the middle of the second round...

Screenshot 2024-05-18 173630.png


Well, that was a bit anticlimactic!

Screenshot 2024-05-18 173640.png


He wasn't even worth as much XP as his guards!

Screenshot 2024-05-18 173651.png


And no treasure as well? A tyrannical leader of a city in dragon form should have oodles of treasure! I guess we forced him into bankruptcy due to him trying to replace all the followers we disposed of?

But, anyway, our attention is drawn towards the dying dragon...

Screenshot 2024-05-18 173656.png

Screenshot 2024-05-18 173709.png


Gulp.

Screenshot 2024-05-18 173726.png


(Not shown, the quick animation as he's sucked down into the Pool, and the Pool going empty. In the module, Tyranthraxus can actually jump to a new host like a party member at this point. Thankfully they didn't put that in the game)

Screenshot 2024-05-18 173737.png


The game just teleports you to the entrance to Civilized Phlan, instead of making you walk all the way back through the hedge maze and five zones. That was actually very considerate of the game designers! Thanks!

Screenshot 2024-05-18 173801.png


We drop the head of the defeated dragon-demon, and just behead the guards right there in the street, in front of the cheering crowds. If anything, the cheering grows louder.

On to the City Clerk!

Screenshot 2024-05-18 173850.png


I would hope so!

Screenshot 2024-05-18 173900.png

Screenshot 2024-05-18 173905.png


Wow! 45,000 XP!

Screenshot 2024-05-18 173917.png


Nice of them to give us so much. Not that it will be of any use at all, since, here in a few minutes, the characters will be transferred to Curse of the Azure Bonds and lose everything, including the piles of gems and jewelry that we've been given. But it's the thought that counts, right?

But the reward was not for naught though. The XP will stay, and not only will that help once we get into Curse and start to be able to advance level-blocked characters again, it's enough to allow Buffy to level now!

Screenshot 2024-05-18 173942.png

Screenshot 2024-05-18 173953.png


And that's that! The game is won! The city clerk says we can continue on adventuring around if we wish, but we've pretty much done everything we can - we could wander around the wilderness a bit to find random encounters for some extra XP I guess, but that would be a tedious endeavor for little gain at this point. Time to move on - Curse of the Azure Bonds beckons!

I'll do a quick post to show how everyone looks at the moment, and maps of the final two zones. After that, I'll do a post in the next few days on my thoughts on this game before starting up Curse. Please feel free to post your thoughts on Pool of Radiance as well!
 
Last edited:


Remove ads

Top